Administration Module
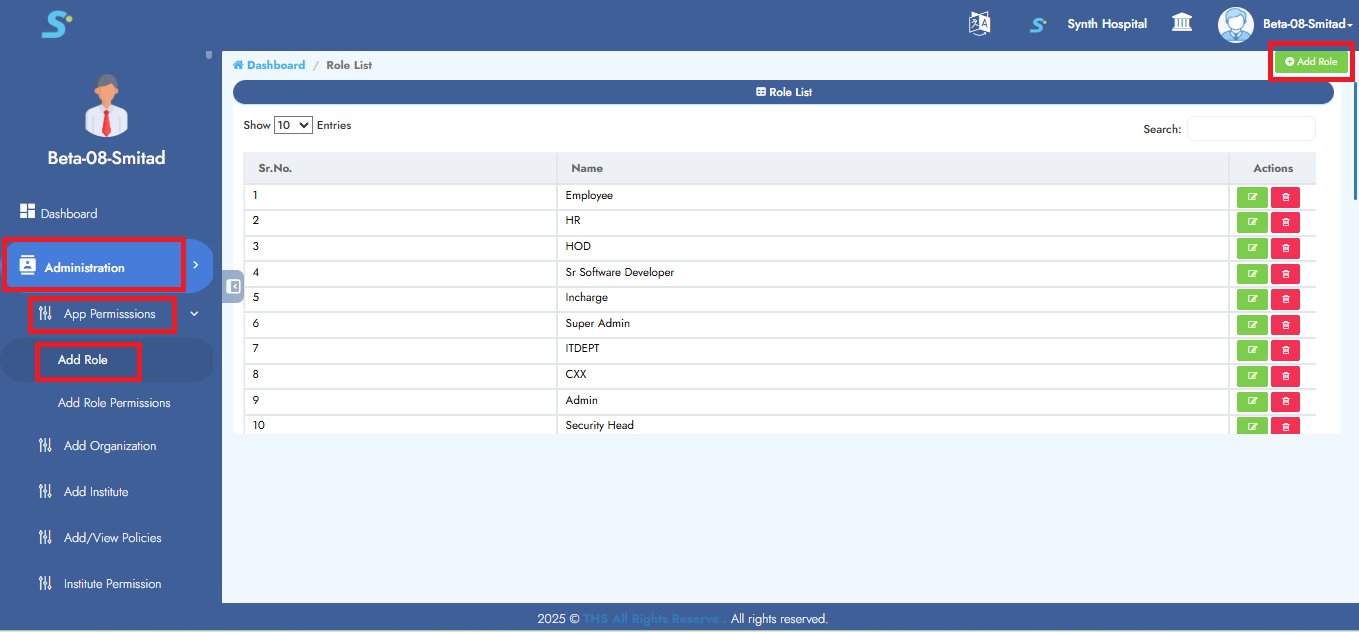
Step 1: Add Role
Go to Administration > App Permissions, then click on Add Role from the side menu.
Click the Add Role button located at the top right.
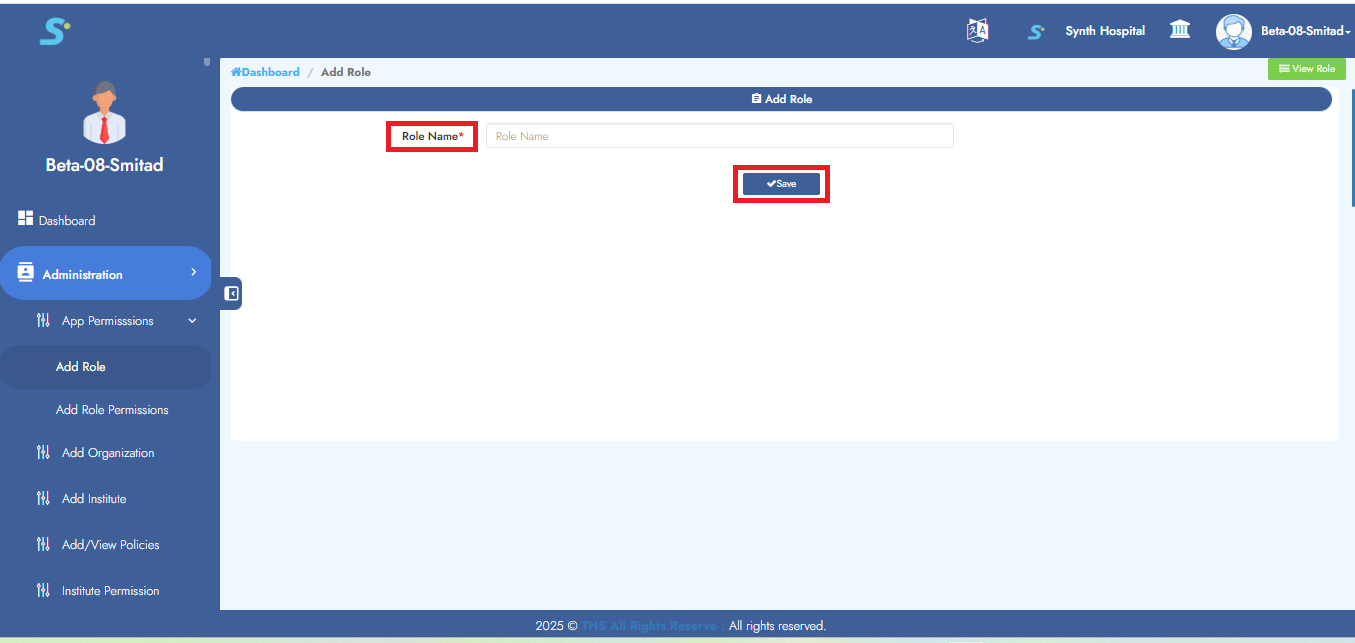
Step 2: Saving Role
Enter the Role Name, then click on the Save button to successfully add the role.
Step 3: Adding Permissions
Go to Administration > App Permissions, then click on Add Role Permissions from the side menu.
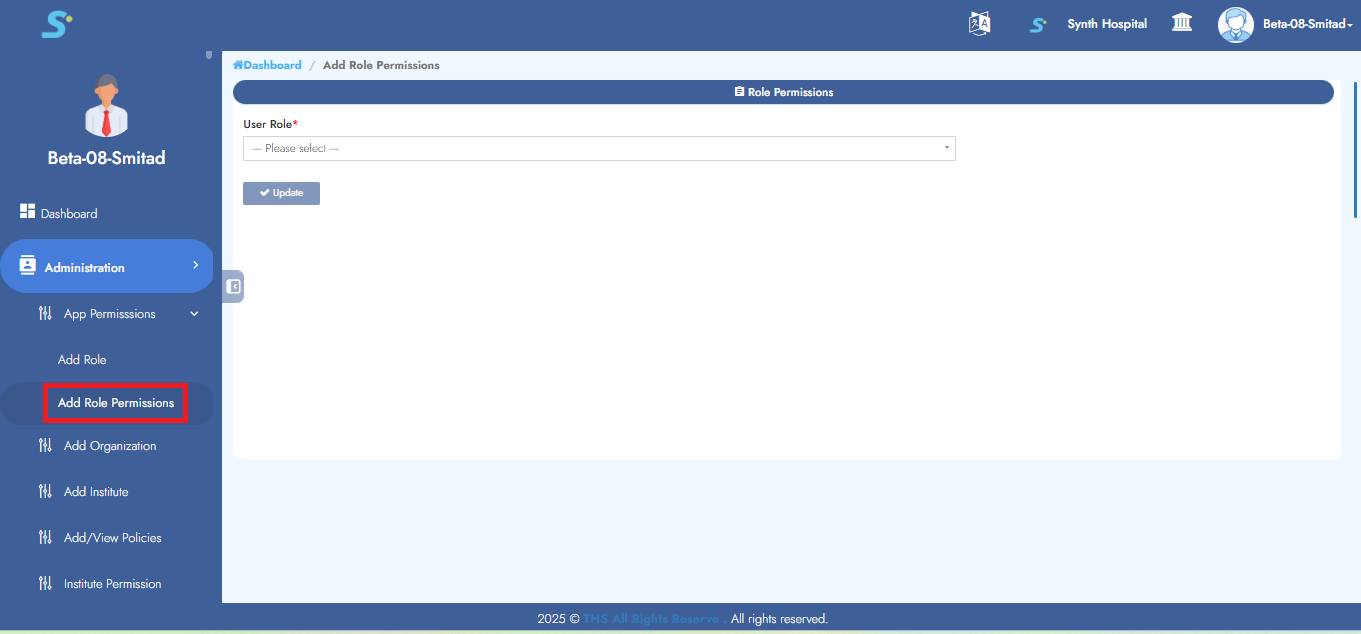
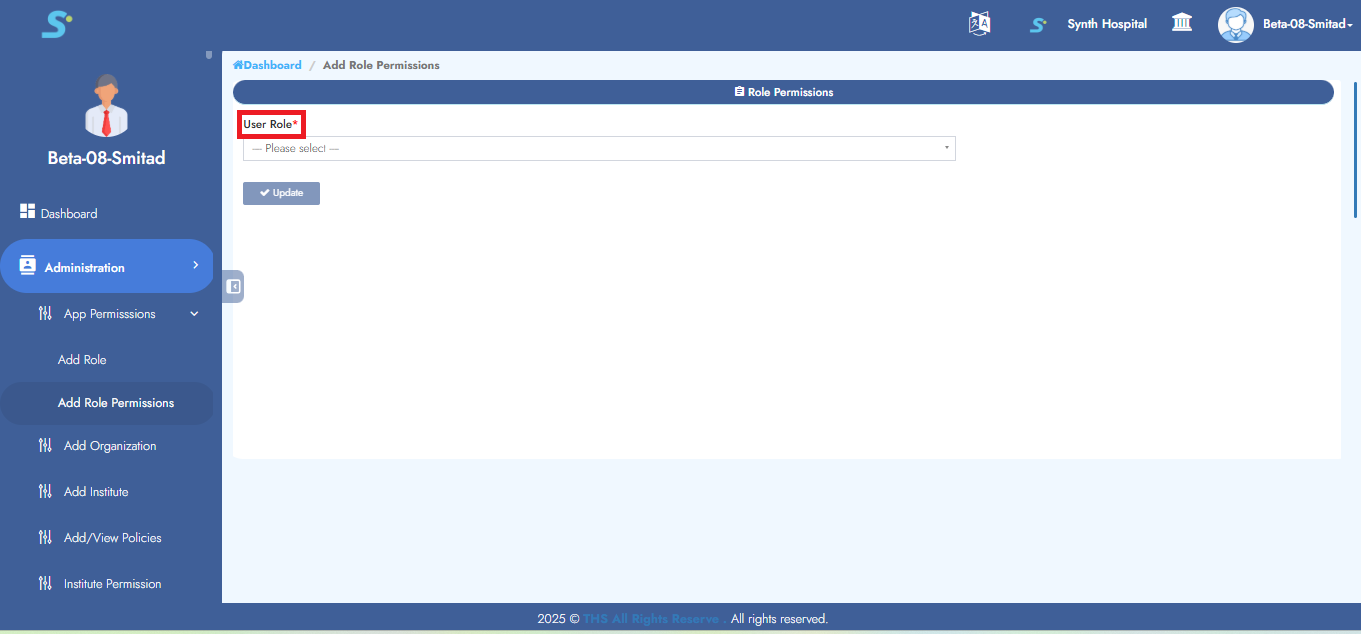
Step 4: Select User Role
From the drop-down list, select the role for which you want to assign permissions.
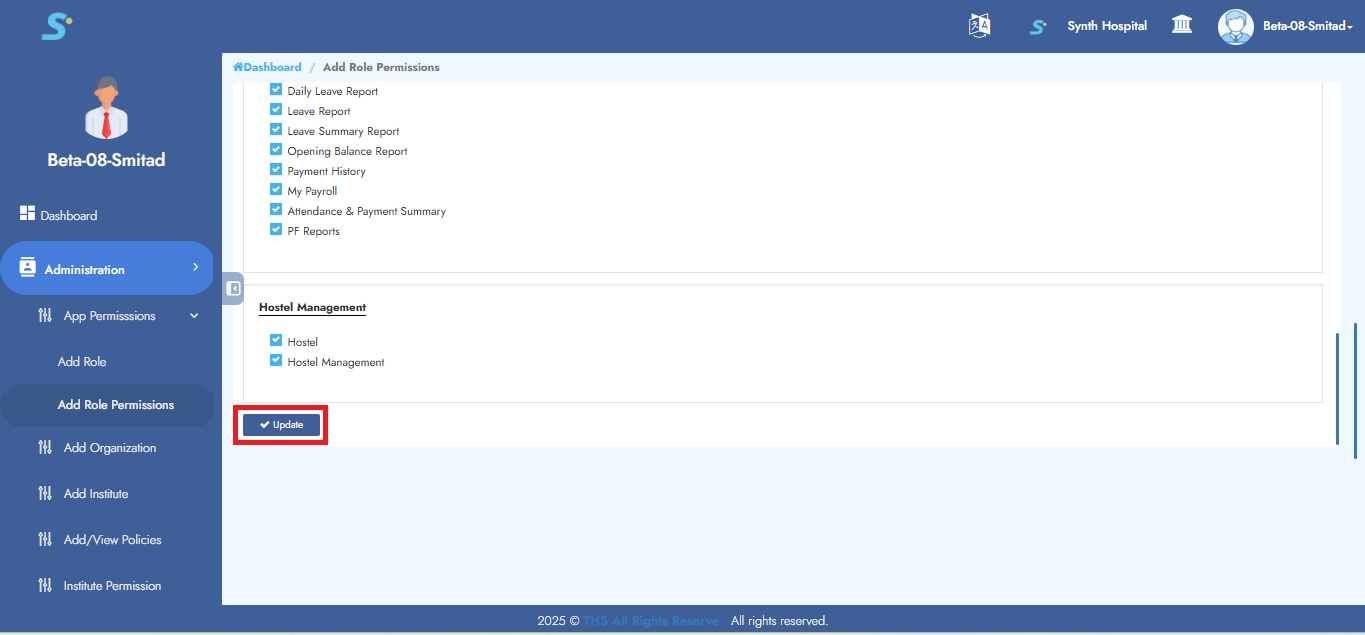
Step 5: Assign Permissions to Role
Tick the required checkboxes to assign permissions to the selected role.
Click the Update button to save the changes.
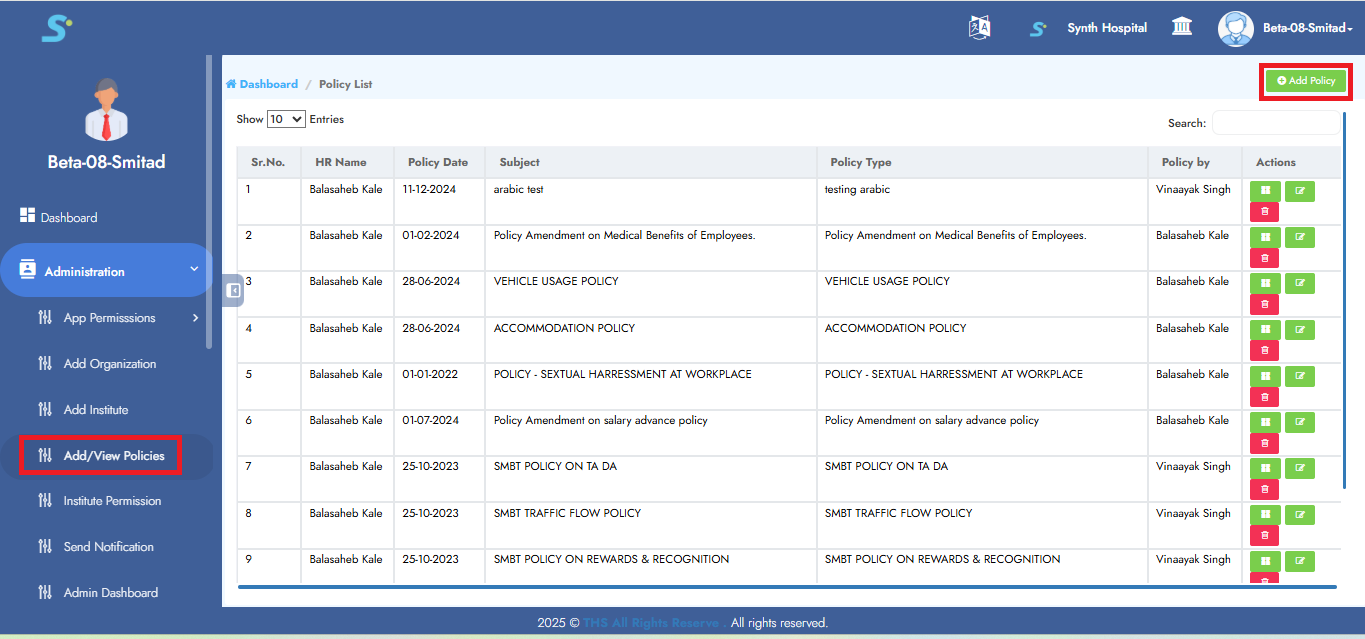
Step 6: Add/View Policies
Go to the Administration module, then click on Add/View Policies from the side menu.
Click the Add Policy button at the top right corner.
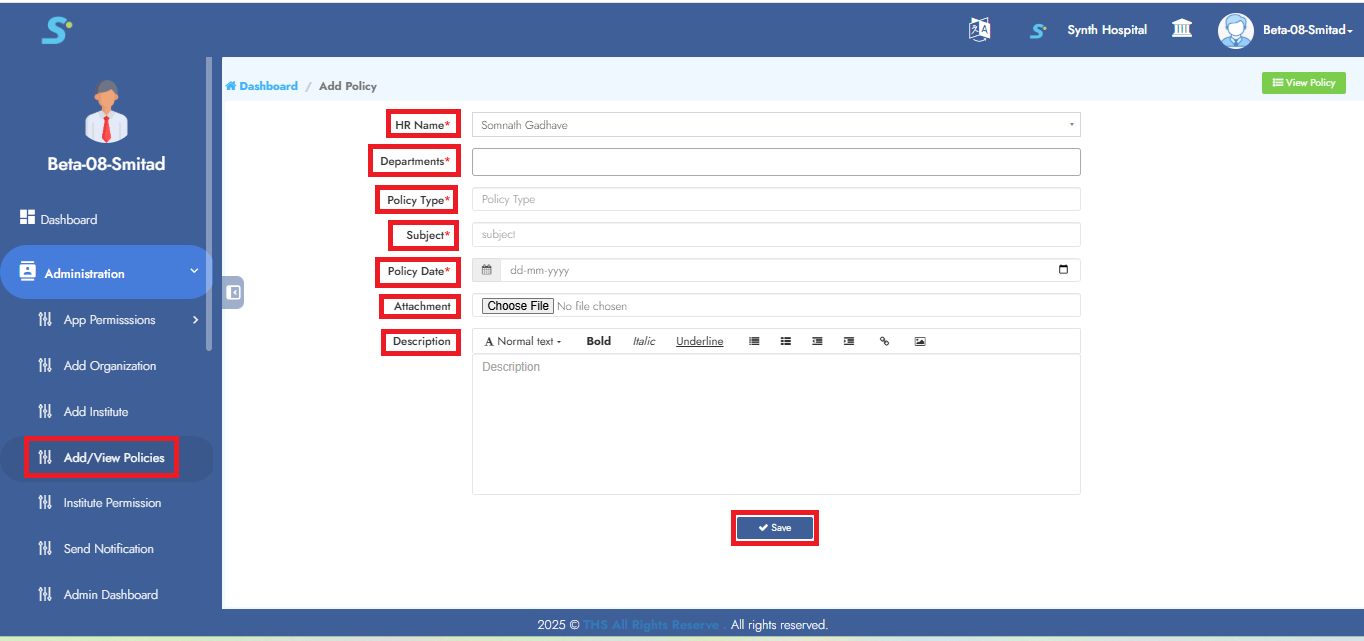
Step 7: Saving Policy
Enter the following fields:
- Select Department
- Policy Type
- Subject
- Policy Date
- Attachment
- Description
Click the Save button to successfully add the policy.
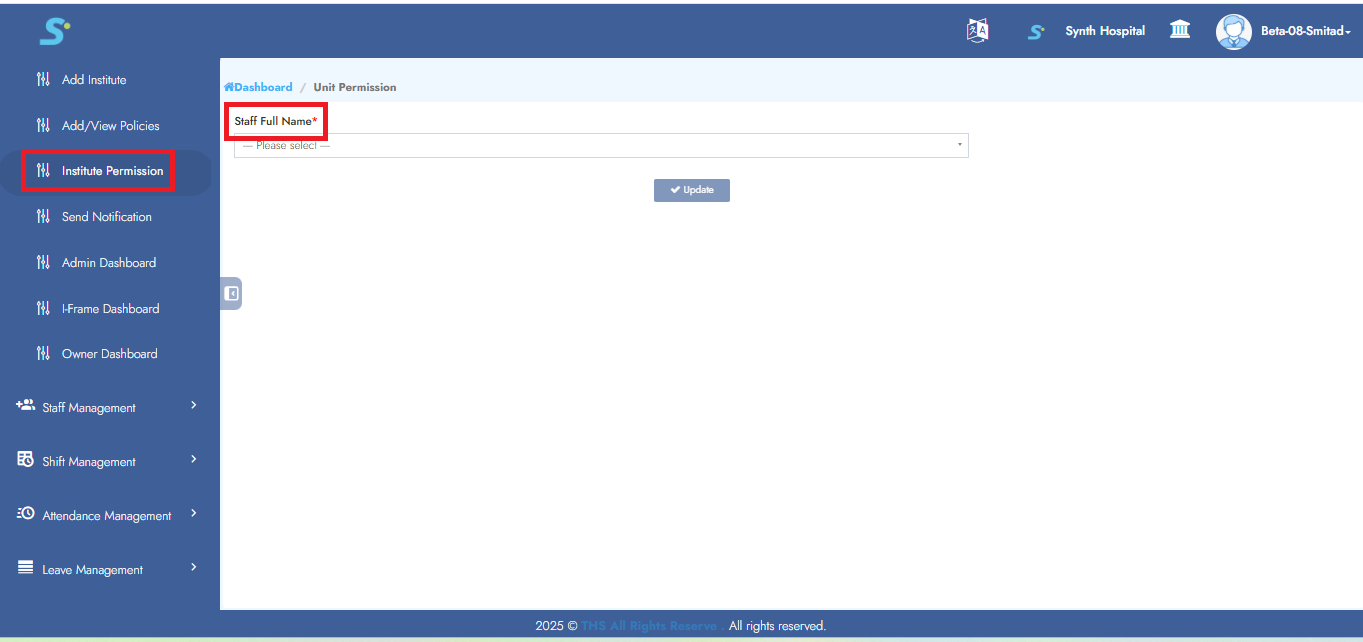
Step 8: Institute Permission
To allow an employee access to multiple institutes:
- Select the employee's name
- Tick the checkboxes for institutes to grant permission
Click the Update button to save the permissions.
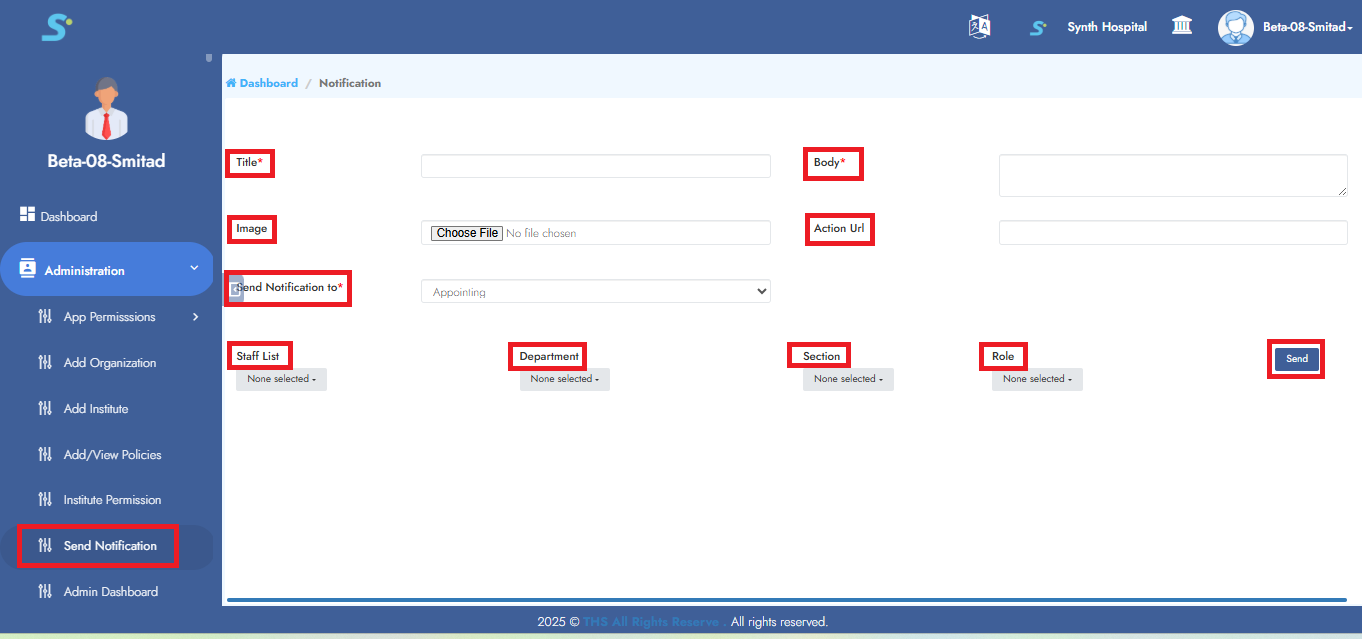
Step 9: Send Notification
Fill in the following fields:
- Title
- Body
- Image
- Action URL
- Send Notification To (select Staff List / Department / Section / Role)
Click the Send button to send the notification.