Leave Management Module
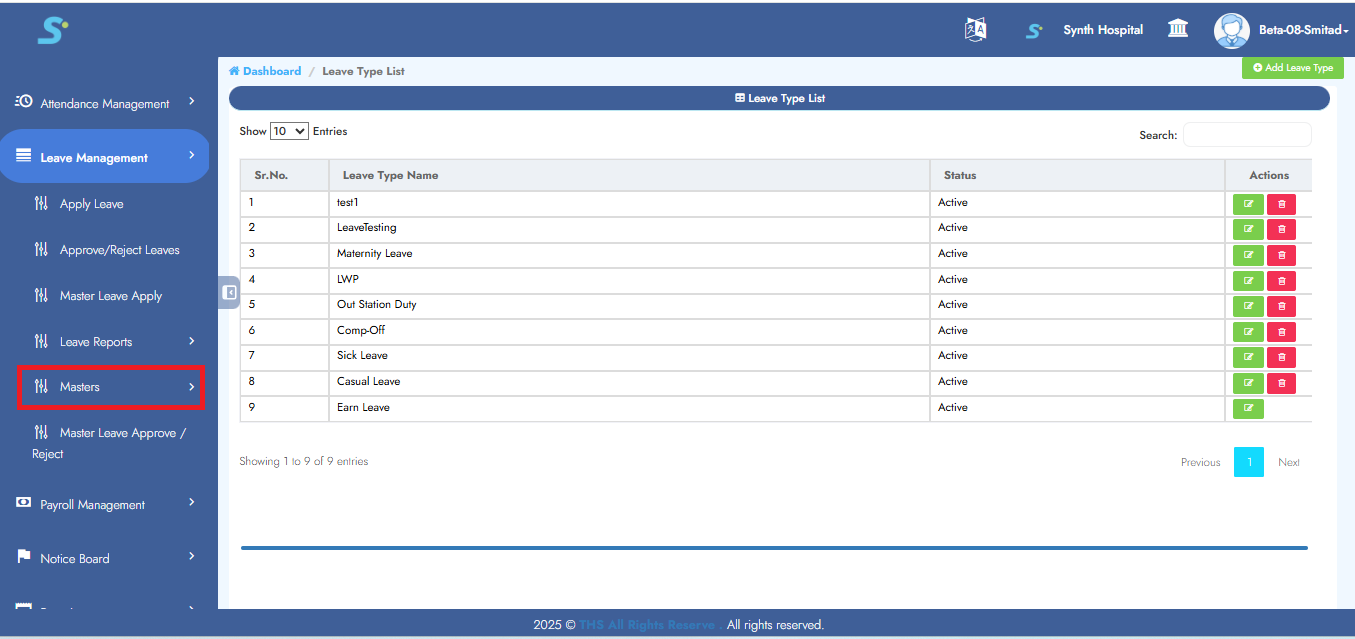
Step 1: Masters of Leave Management
Within the Leave Management module, navigate to the Masters sub-module as shwon images .
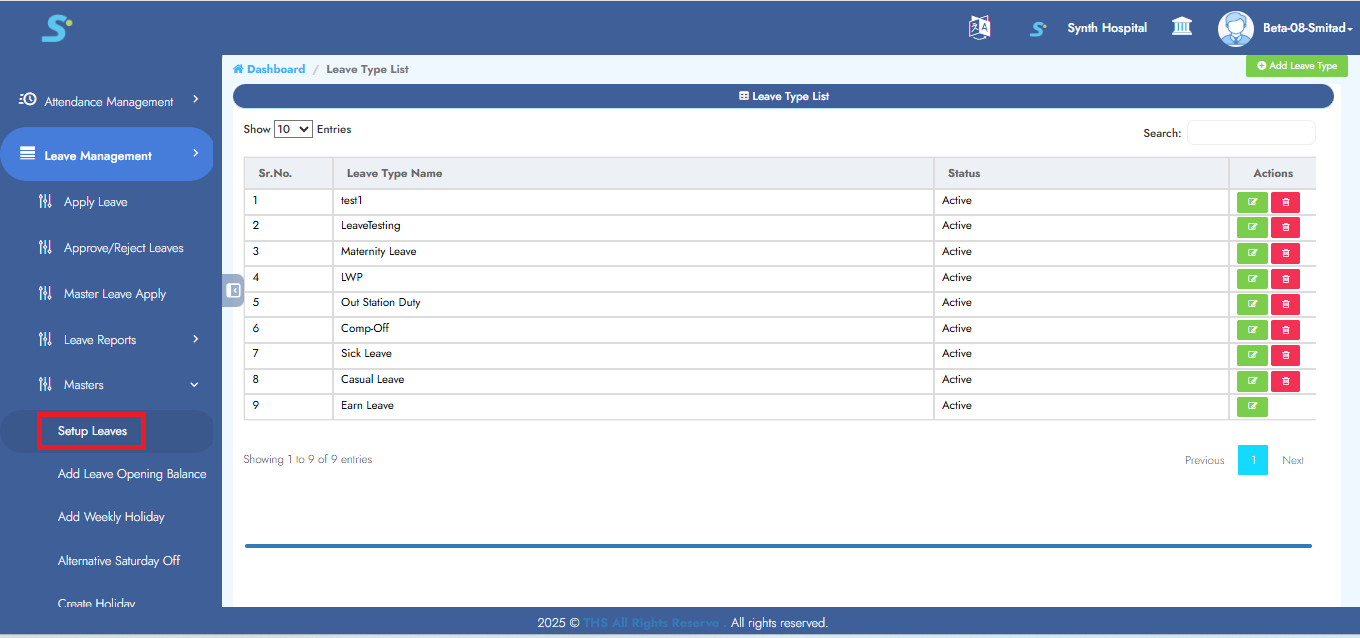
Step 2: Accessing Leave Setup in Leave Management
Navigate to Masters > Leave Setup as shown below.
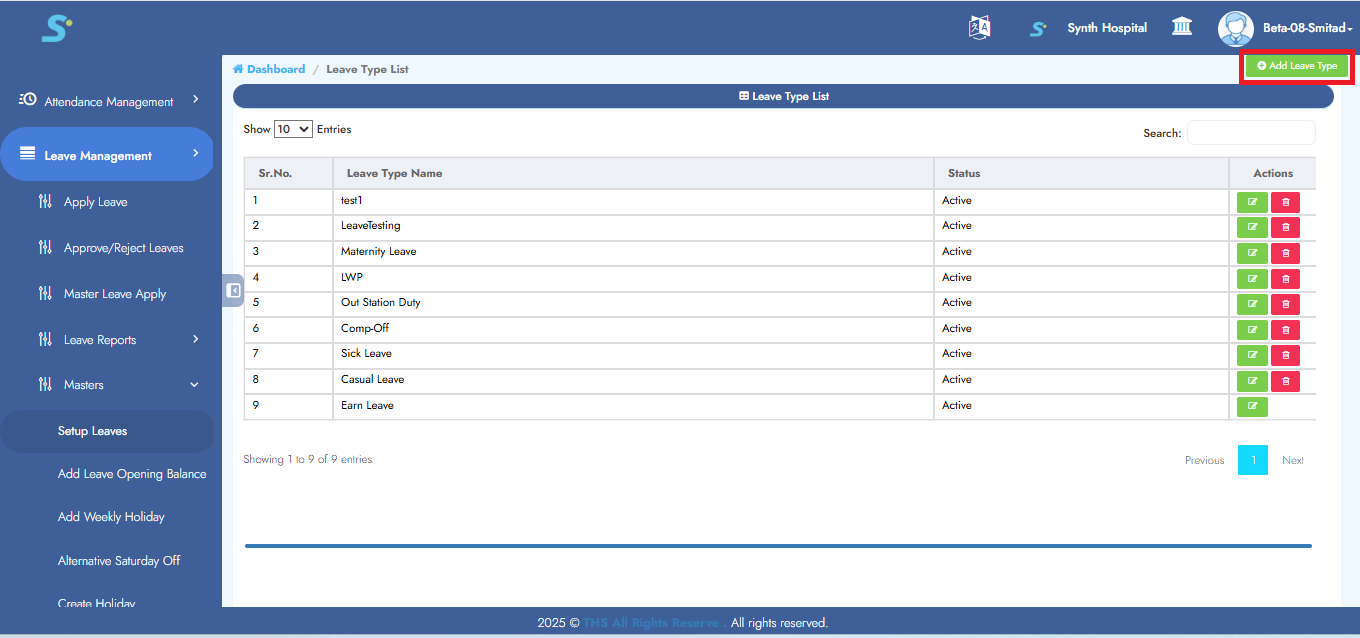
Step 3: Adding a New Leave Type
Click on the Add Leave Type button on the top-left corner to create a new leave type.
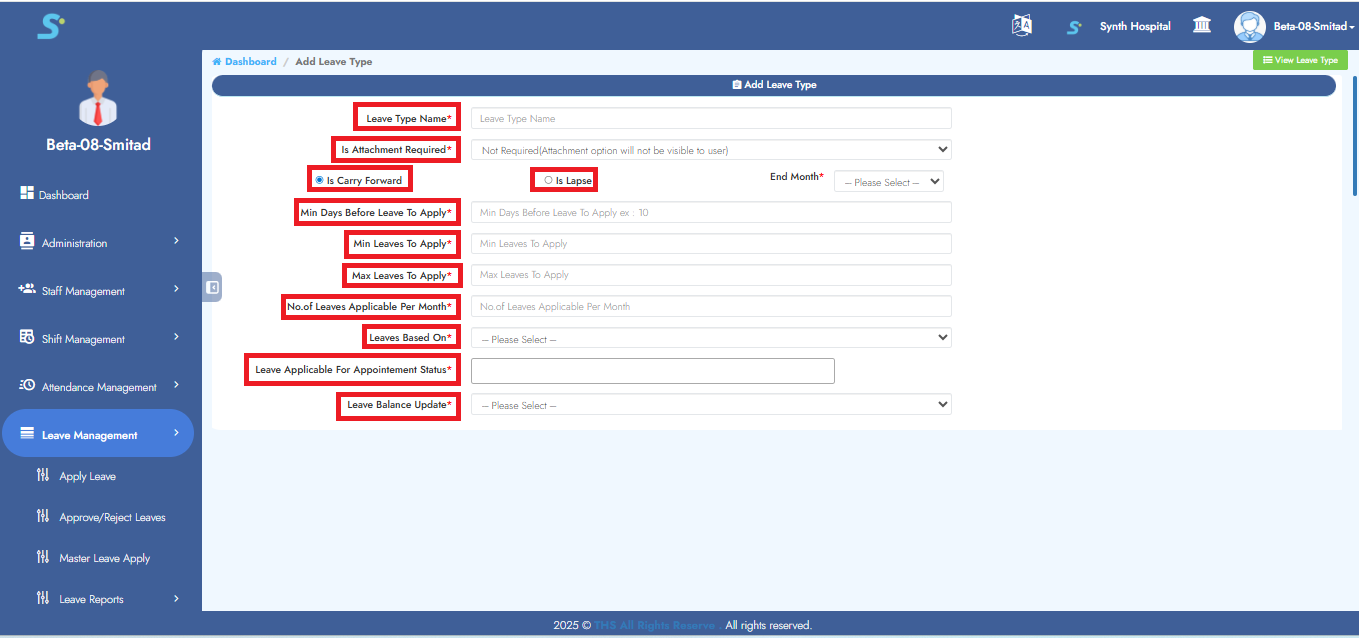
Step 4: Entering Leave Type Details
Fill in details:
- Leave Type Name
- Attachment Requirement
- Carry Forward or Lapse
- Min/Max leave to apply
- Leave Based On, Appointment Status, etc.
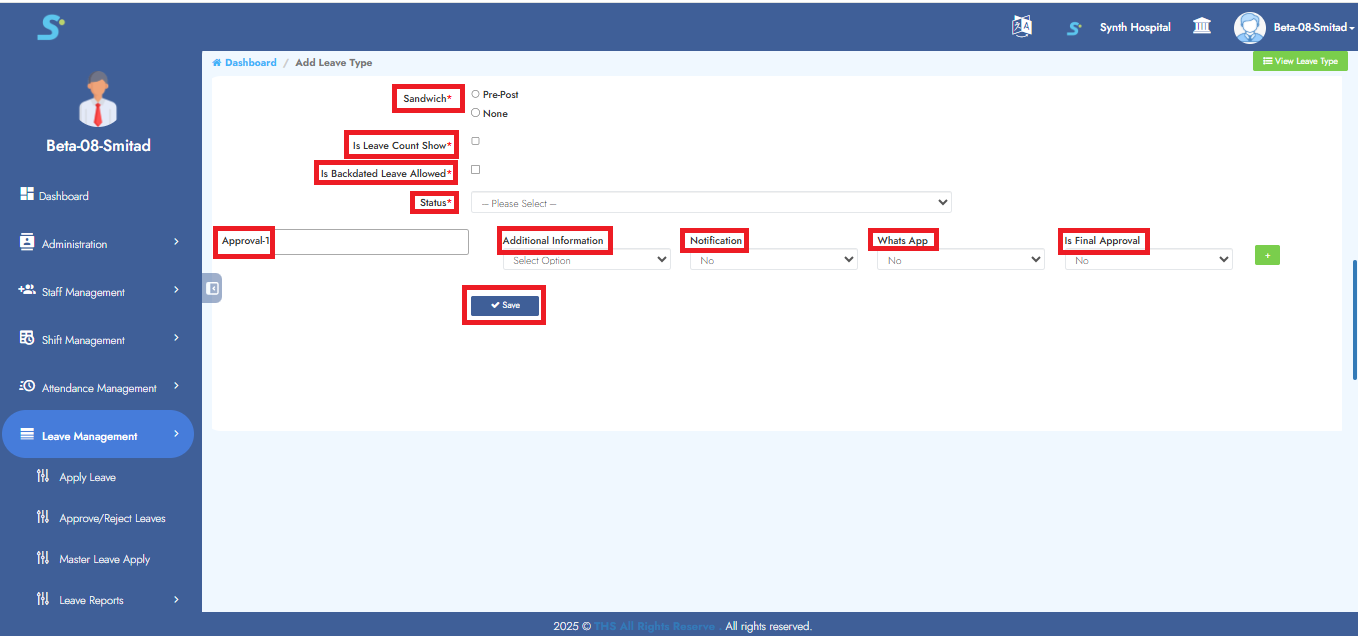
Step 5: Configuring Advanced Settings and Approvals
- Configure Sandwich rules, Backdated leave
- Set Approvals: Approval 1, WhatsApp, Notification, Final Approval
- Click Save
- Success message: "Record Saved Successfully"
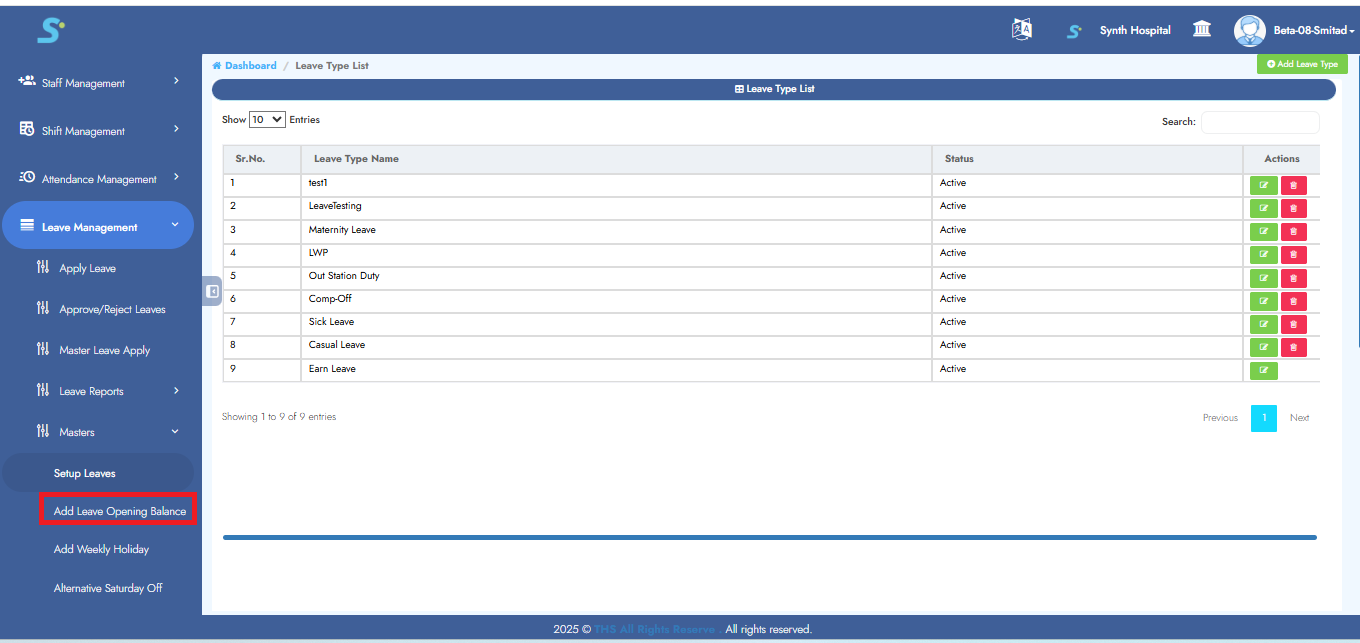
Step 6: Accessing Add Leave Opening Balance
Click on Add Leave Opening Balance from the side menu.
Step 7: Importing Leave Opening Balances via Excel
Click Import to upload bulk leave balances using Excel.

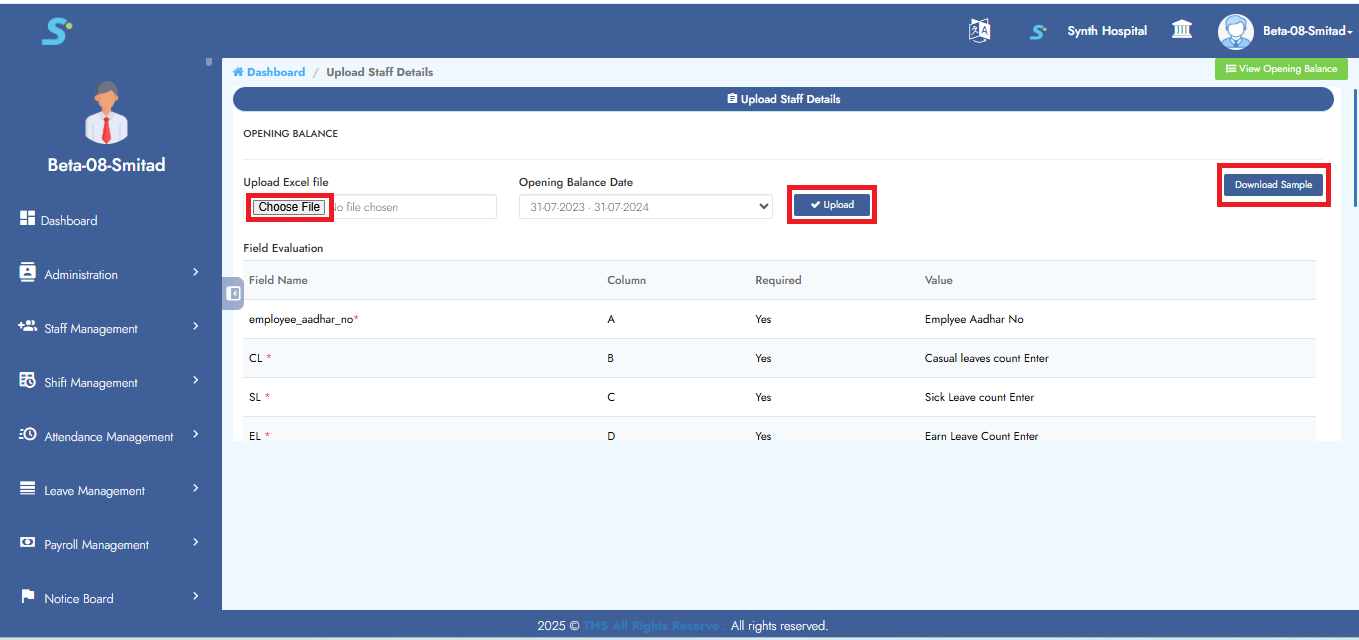
Step 8: Uploading Leave Opening Balance Using Excel
- Click Download Sample
- Fill Excel
- Click Choose File, select file
- Set Opening Balance Date and click Upload
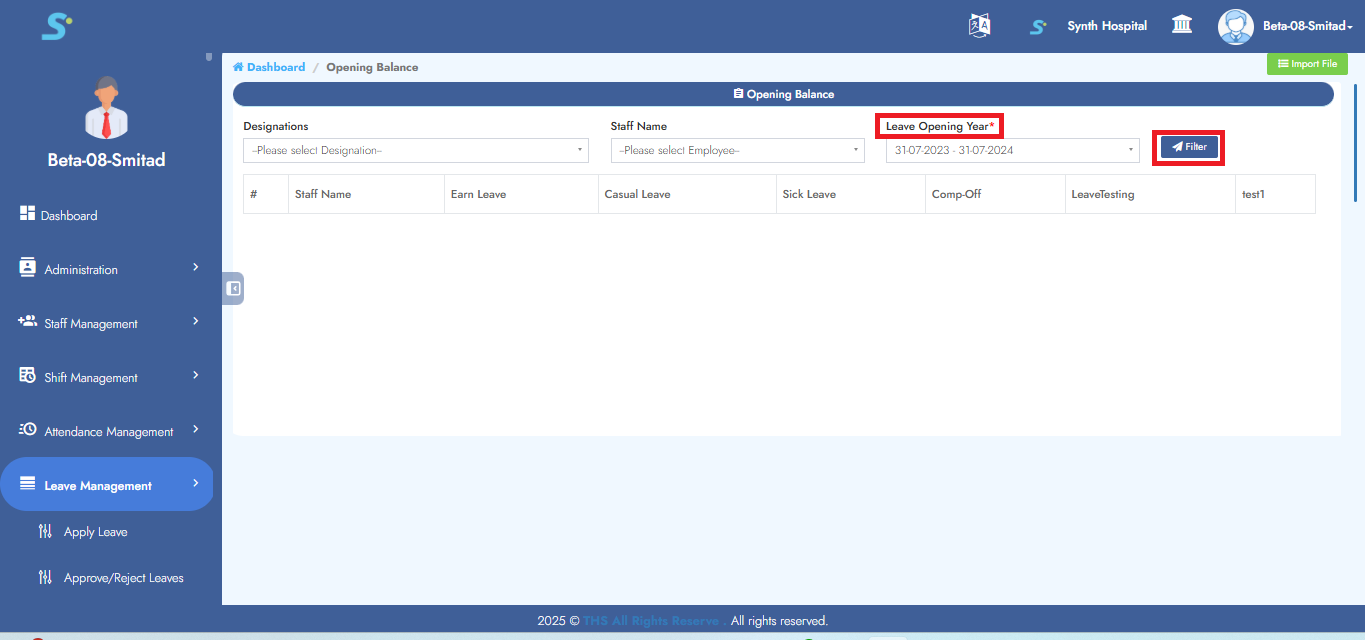
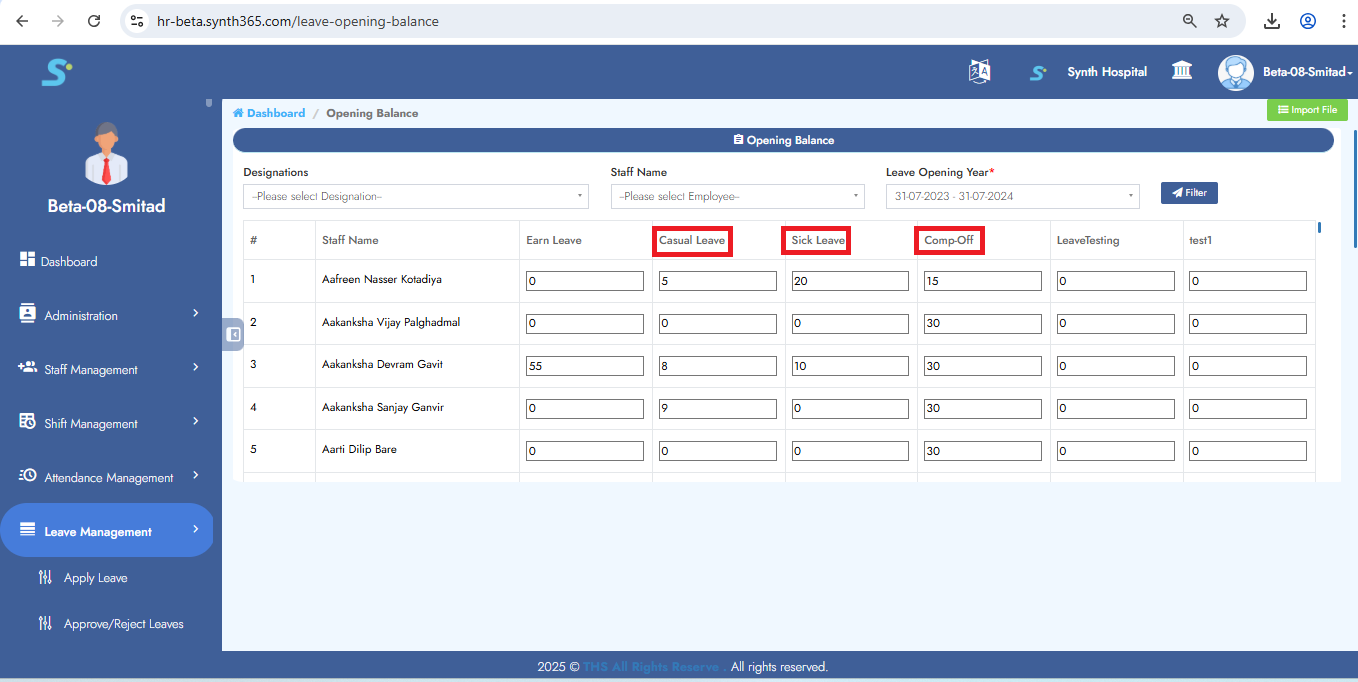
Step 9: Verifying Uploaded Leave Opening Balance Data
- Select Leave Opening Year
- Click Filter
- Data will display below
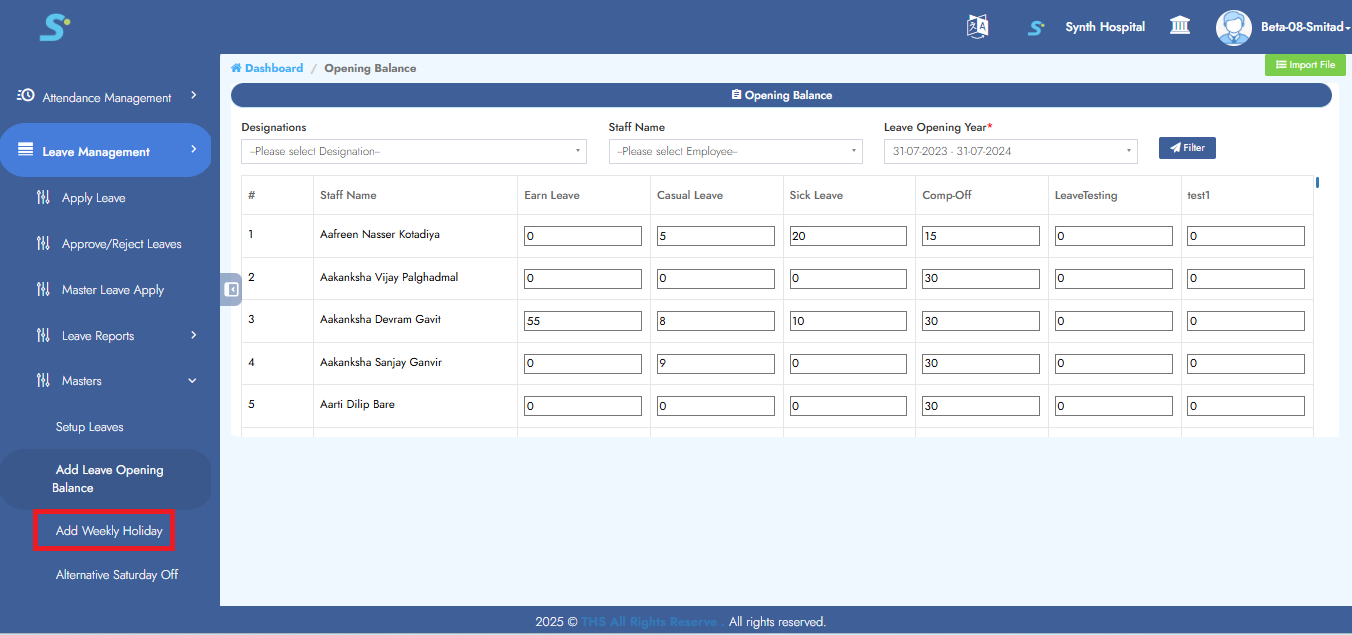
Step 10: Adding Weekly Off Holiday
Navigate to Add Weekoff Holiday
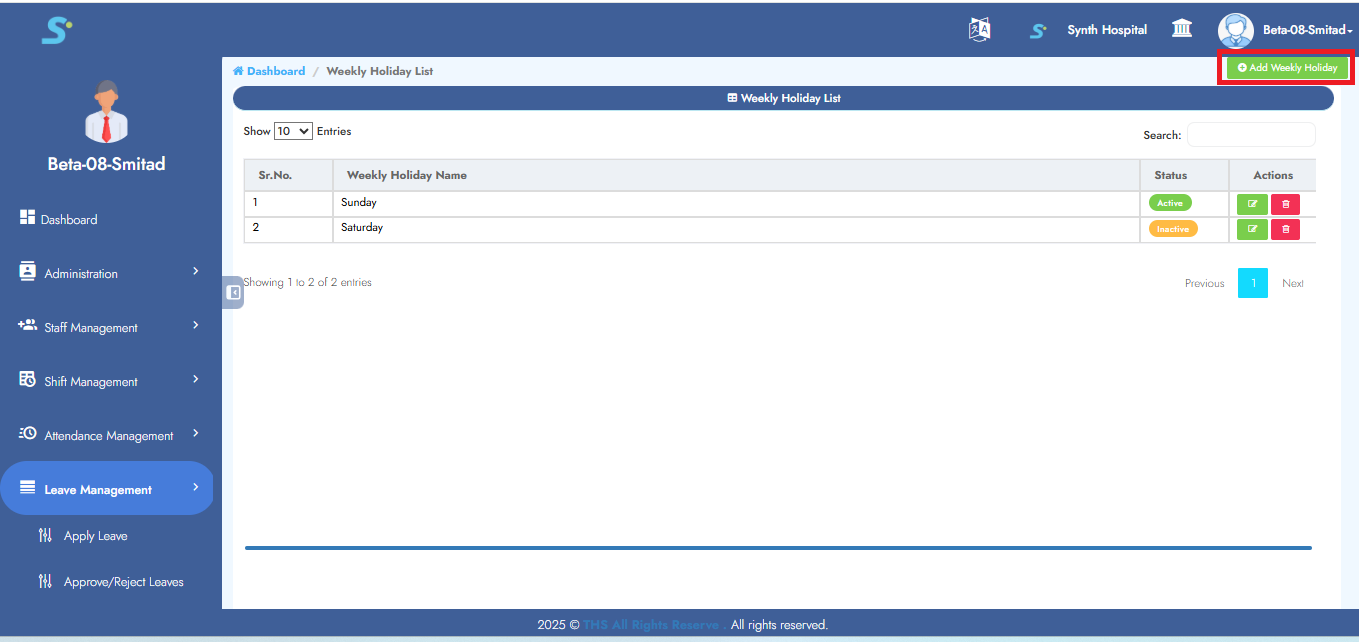
Click Add Weekly Holiday on the top-left
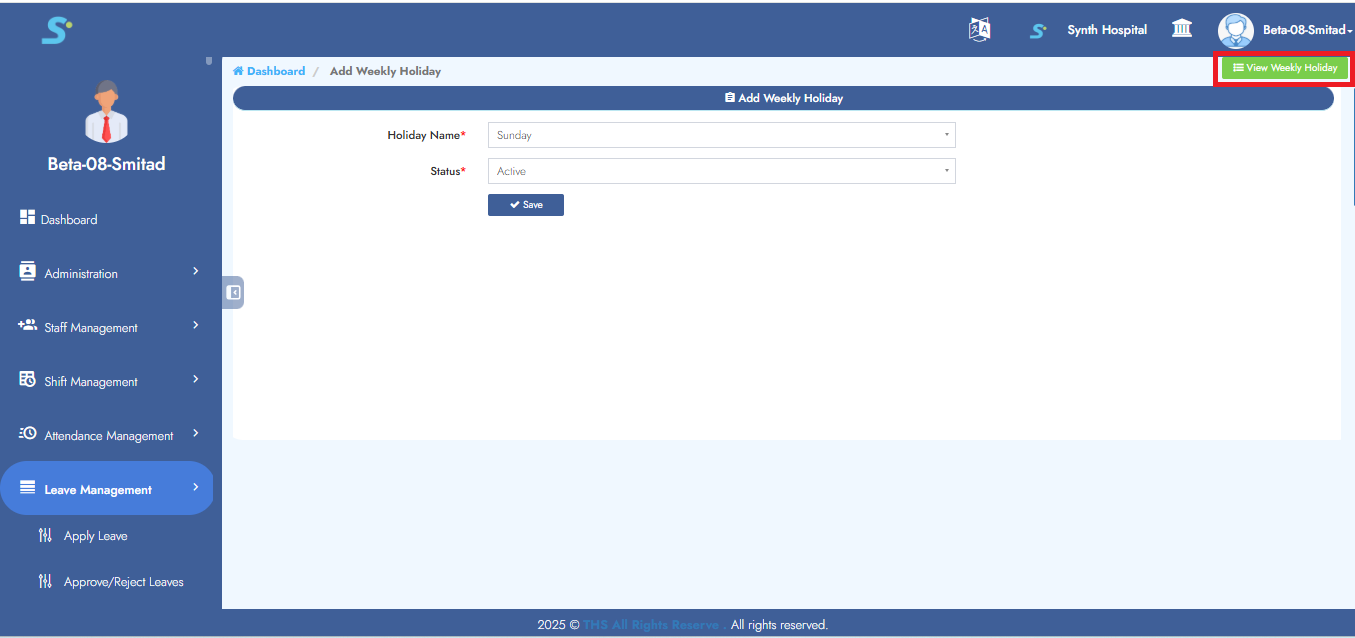
Step 11: Entering Weekly Off Holiday Details
Select Holiday Day, set Status as Active or Inactive

Next, click on View Weekly Holiday to see the list of weekly off holidays you’ve configured.
Step 12: Weekly Off Holiday Overview
Screen shows list of all configured weekly offs
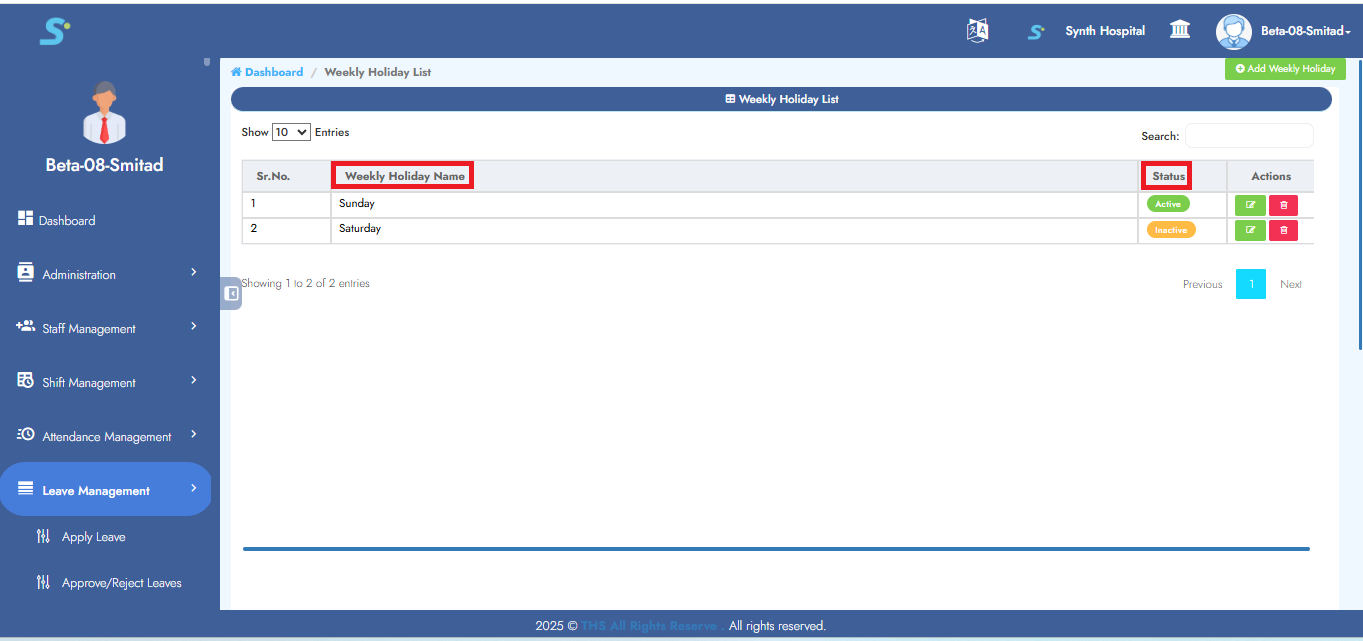
Step 13: Viewing Configured Weekly Off Holidays
To set up alternate Saturday offs, go to theLeave Management module and select the Add Alternative Saturday Off sub-module.
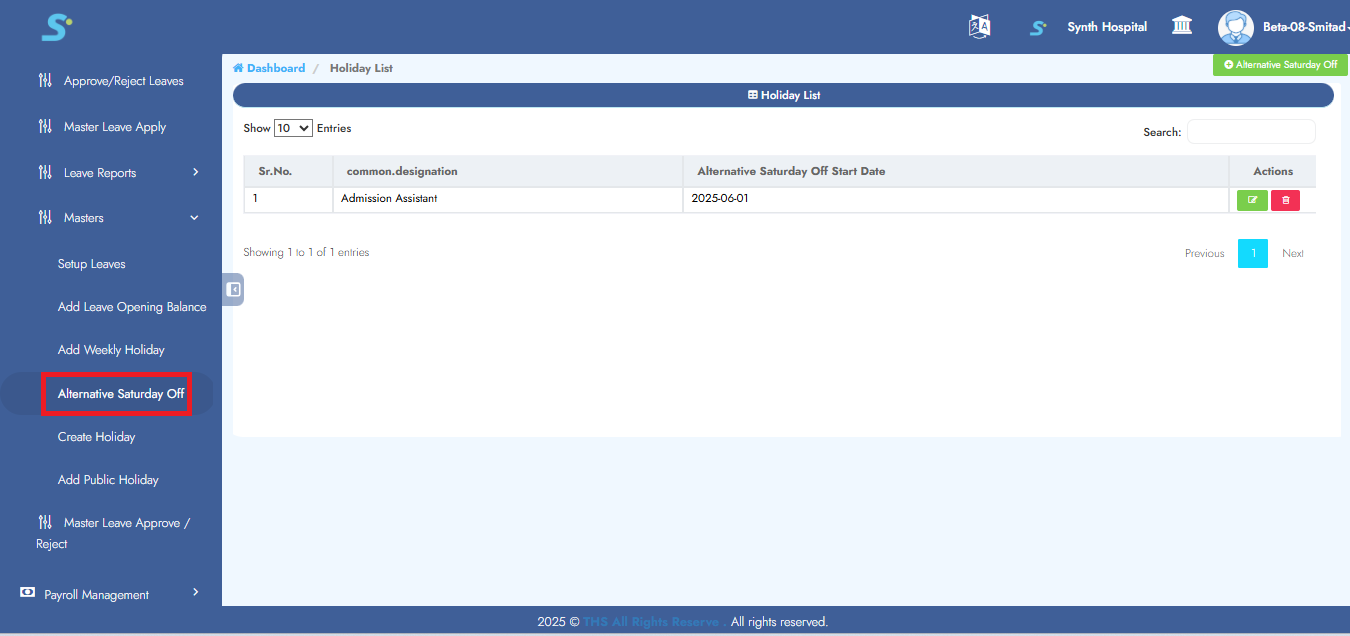
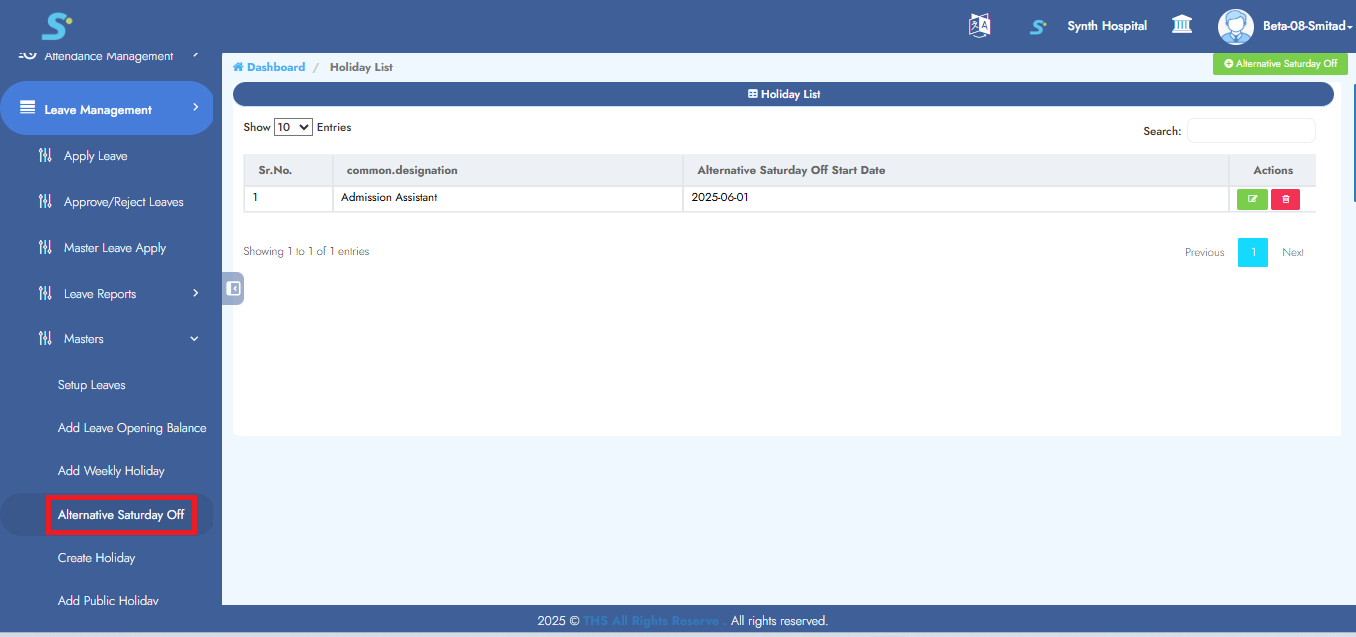
Step 14: Configuring Alternative Saturday Off
Navigate to Alternative Saturday Off

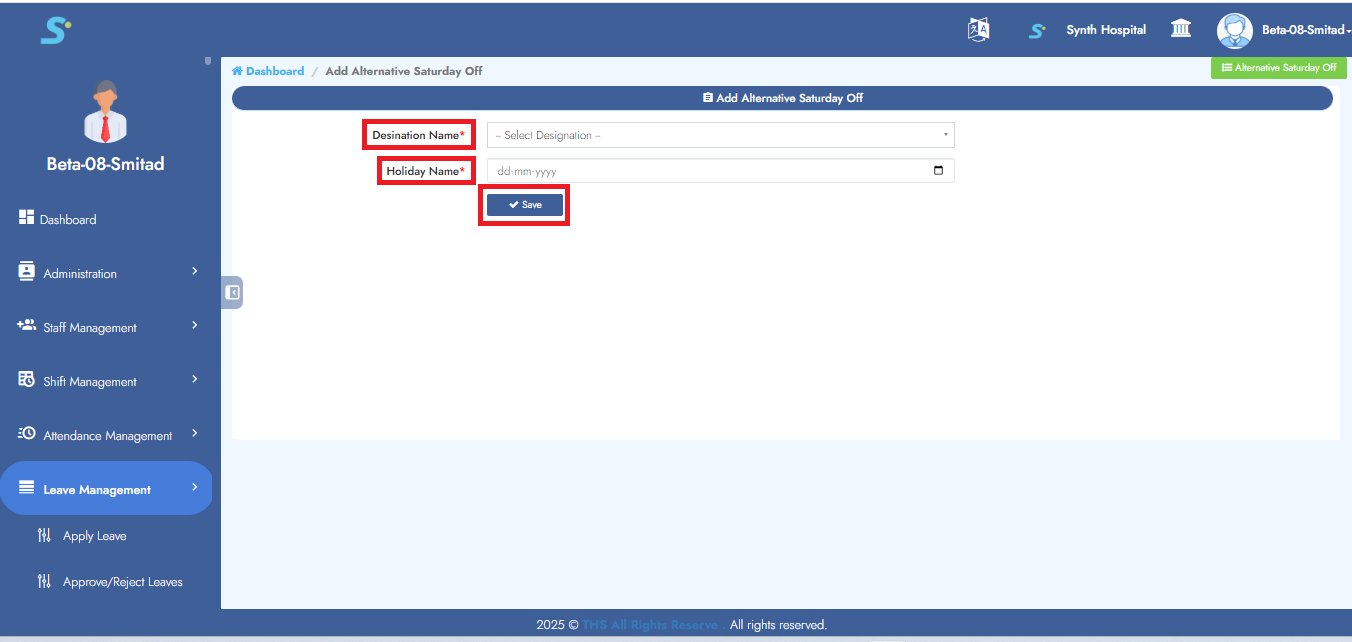
Step 15: Entering Alternative Saturday Off Details
Select destination(drop-downlist) and holiday date(drop-downlist)
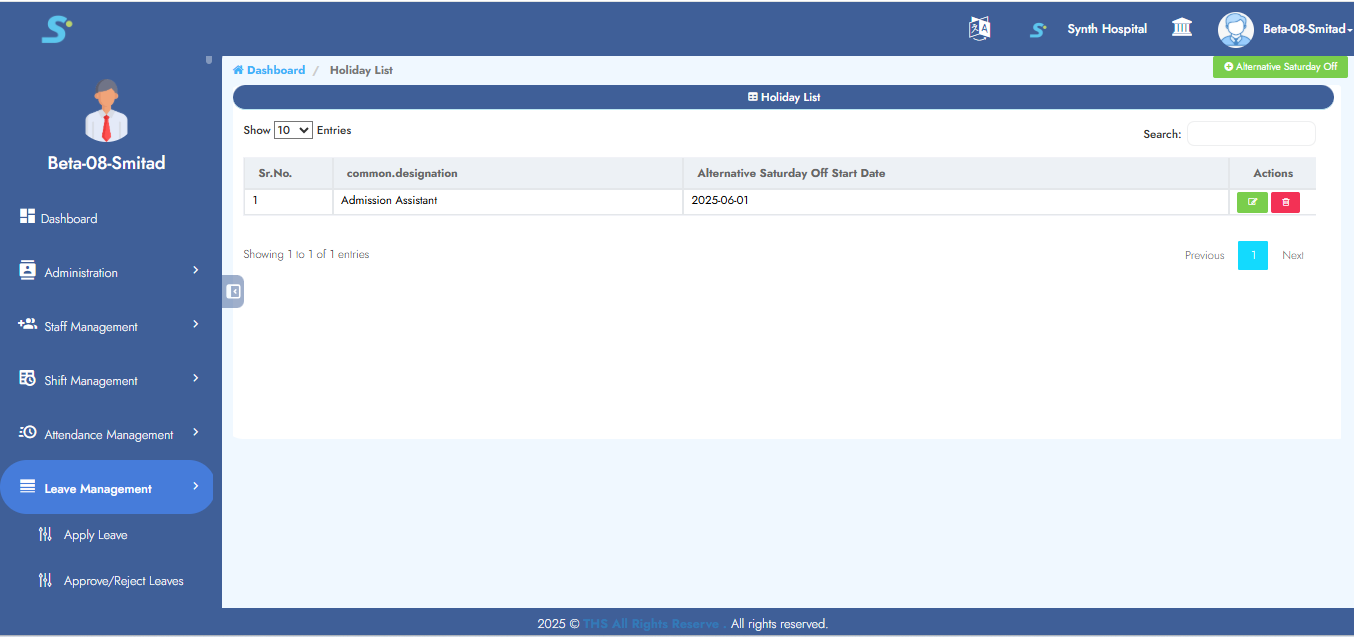
Step 16: Viewing Alternative Saturday Off List
Screen shows the list of configured alternative Saturdays
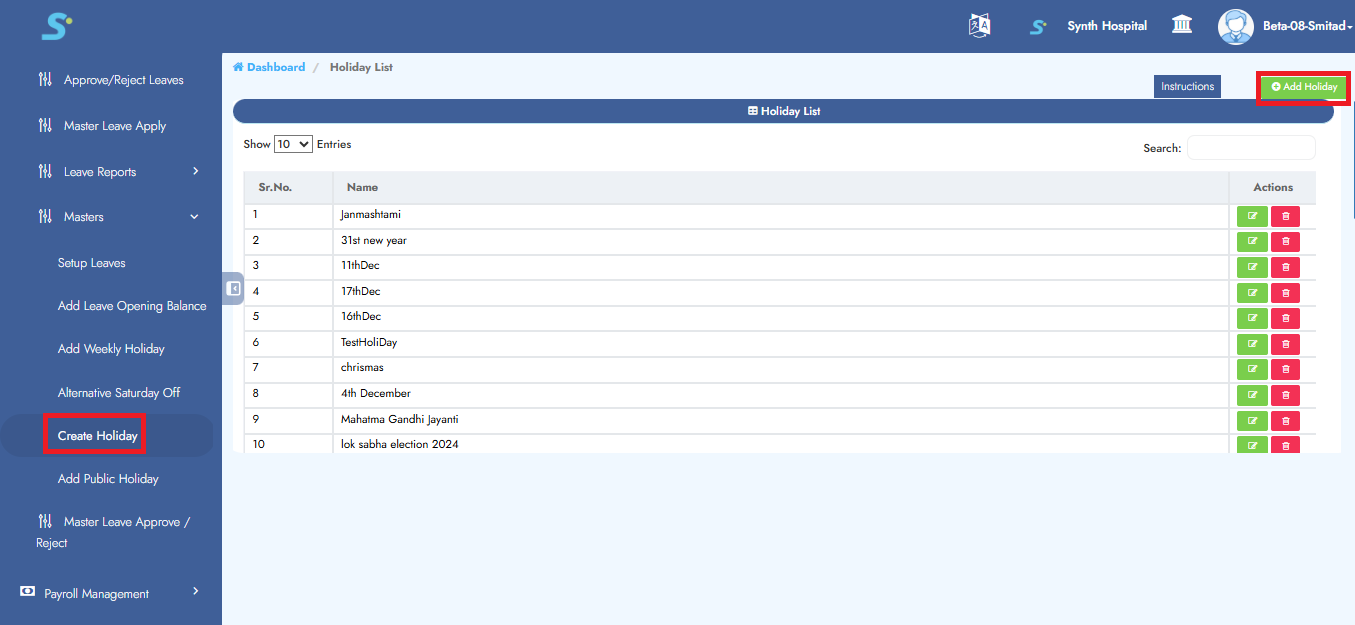
Step 17: Creating a New Holiday
Click Create Holiday from the side menu
Then click on Create Holiday button on top-left
Step 18: Entering Public Holiday Details
Fill in:
- Holiday Name
- Department
- From Date / To Date
- Comments
Click Save → "Record Saved Successfully"

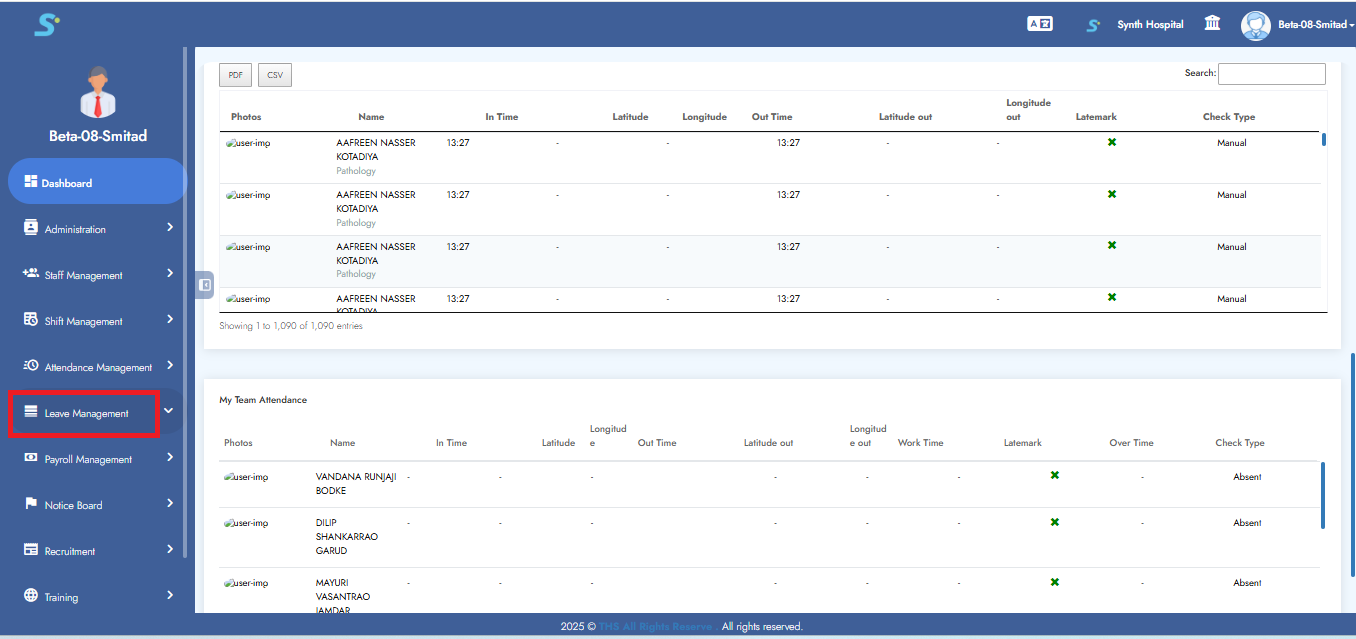
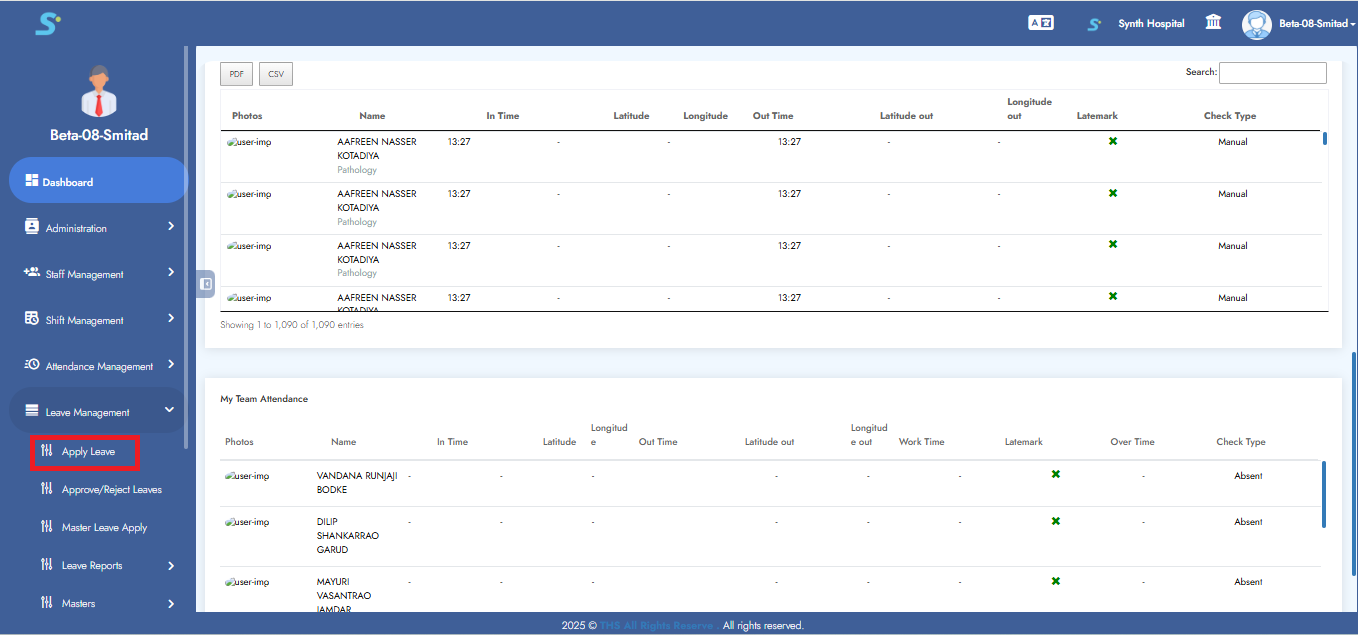
Step 19: Leave Management – Getting Started
Go to the Leave Management module
Step 20: Apply Leave
Click on Apply Leave from the side menu
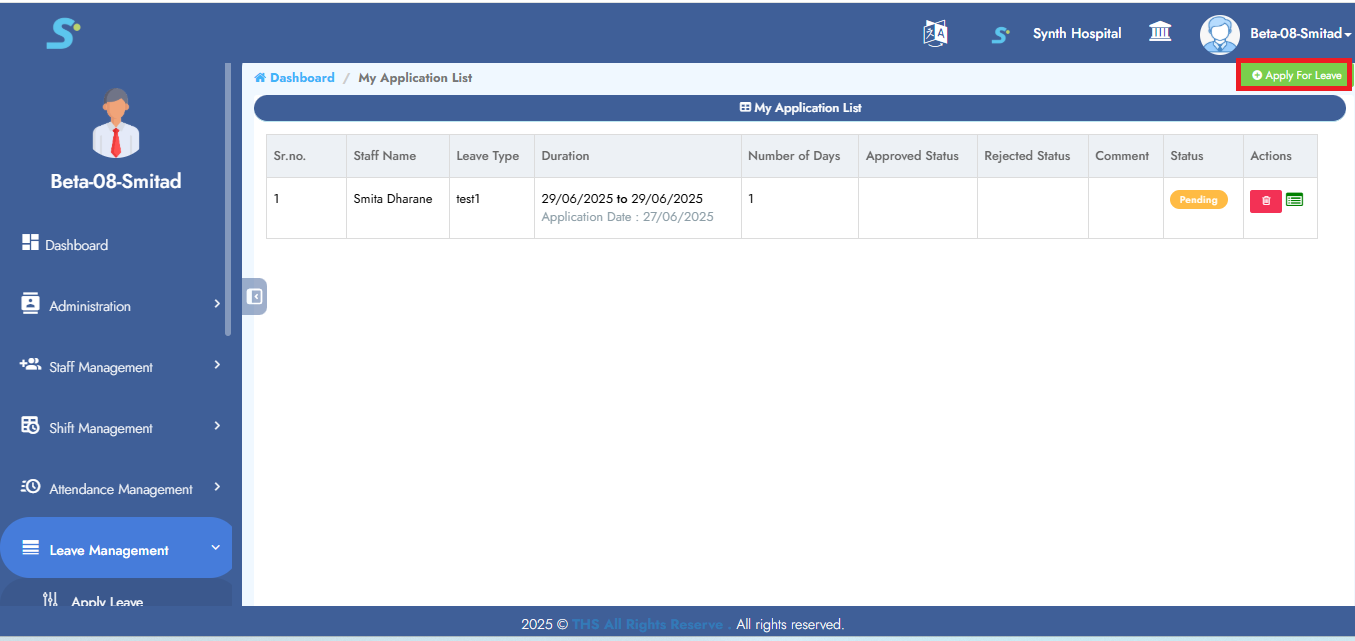
Step 21: Initiate Leave Application
Click Apply for Leave button (top-left)
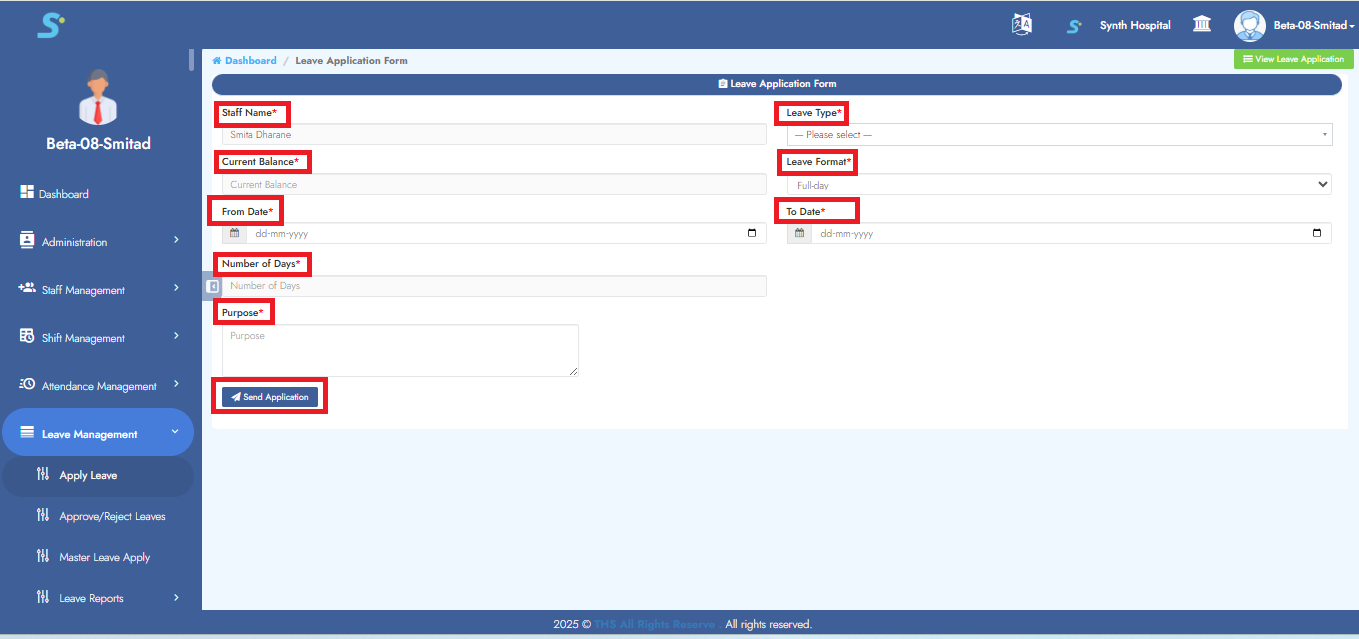
Step 22: Fill Leave Application Details
Fill:
- Leave Type, From-To Date
- Half/Full Day
- Reason
Click Send Application → "Record saved successfully"
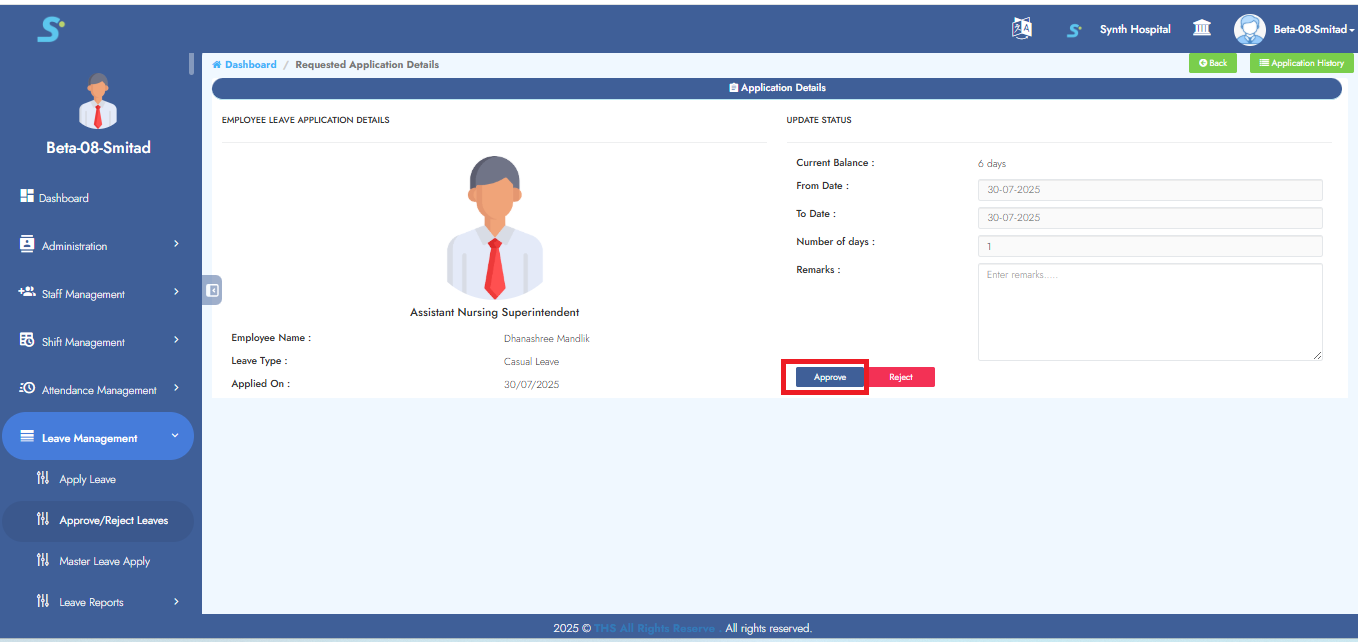
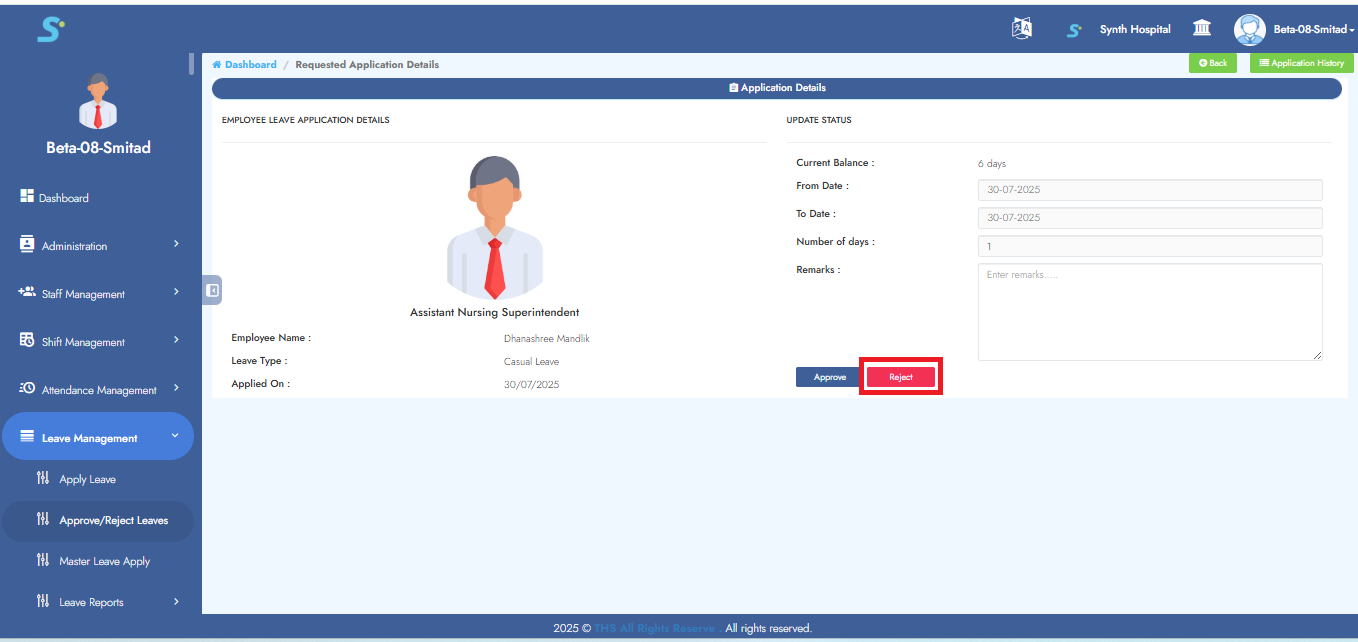
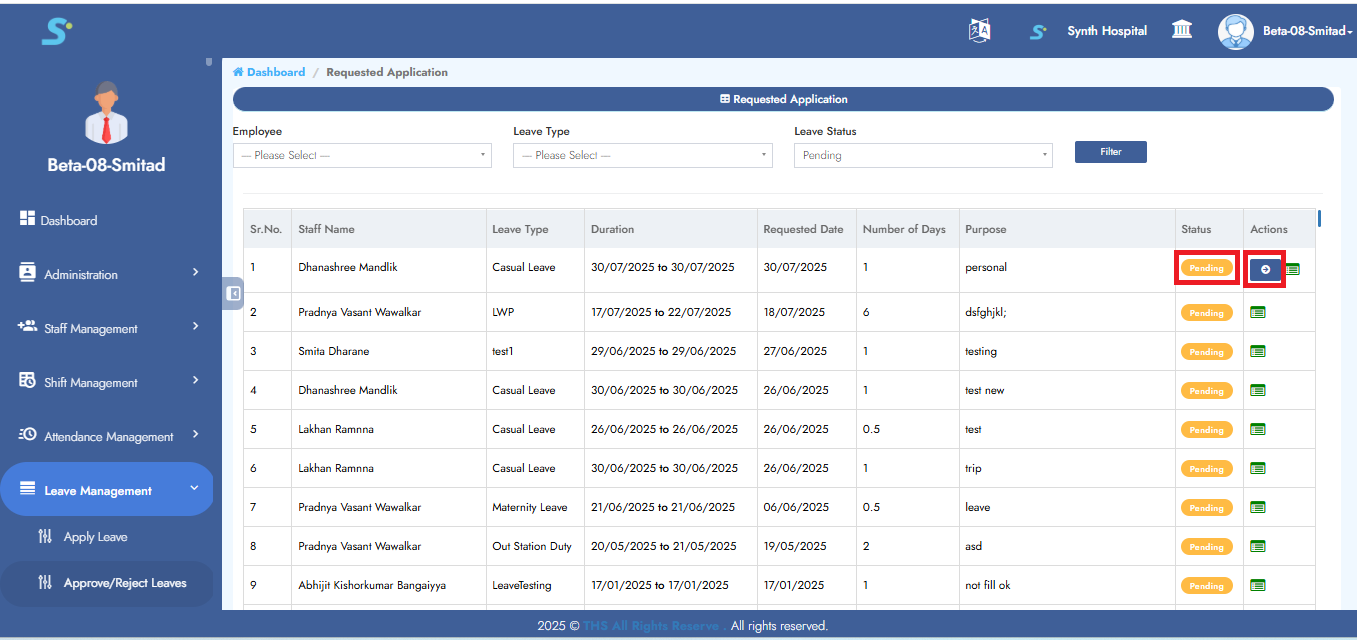
Step 23: Approve/Reject Leave
Pending leaves can be acted upon in View Leave Details

Step 24: Leave Requests View
Click View Leave Details for pending requests
Click Actions

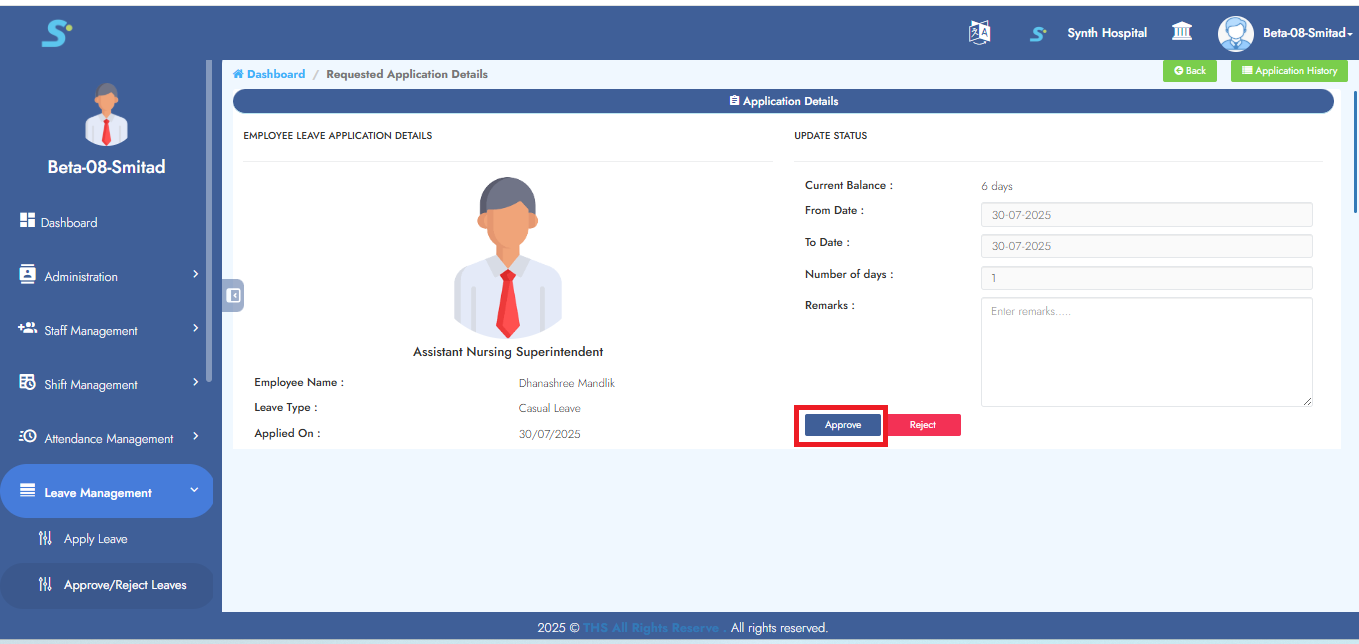
Step 25: Leave Approval Confirmation
Click Approve → "Leave approved successfully"
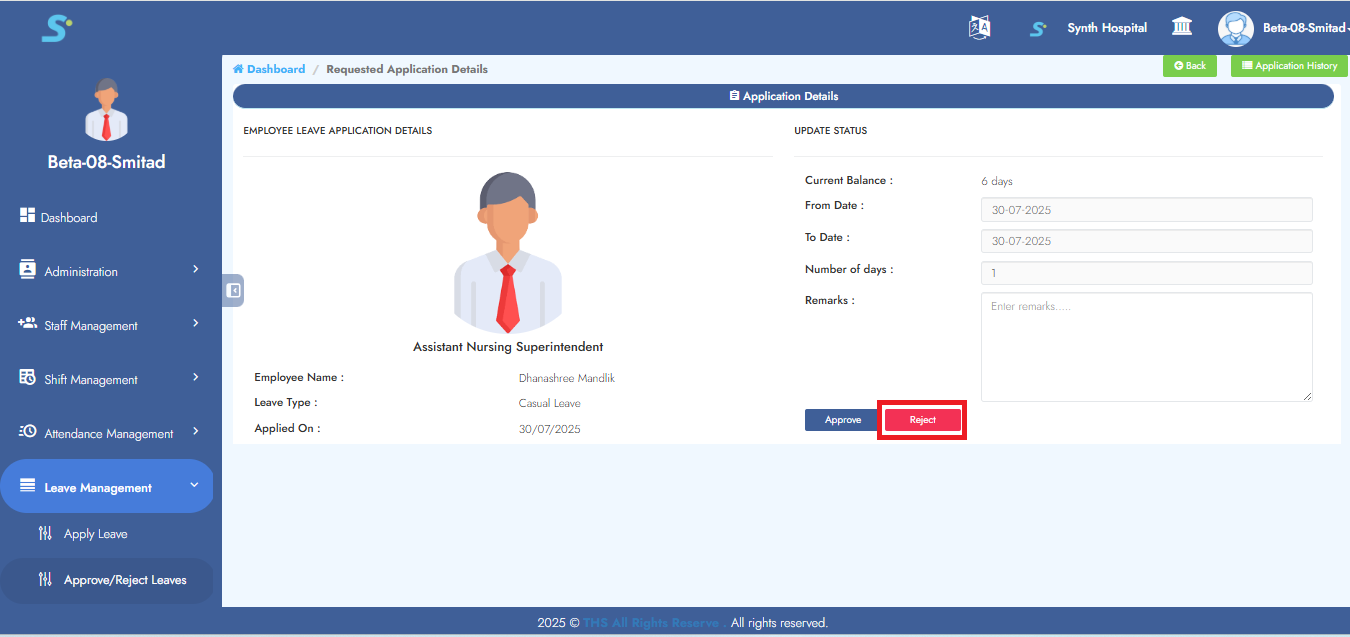
Step 26: Reject Pending Leave Requests
Click Reject → "Leave rejected"
Step 27: Master Leave Apply
Used for backdated/manual adjustments
Click Master Leave Apply
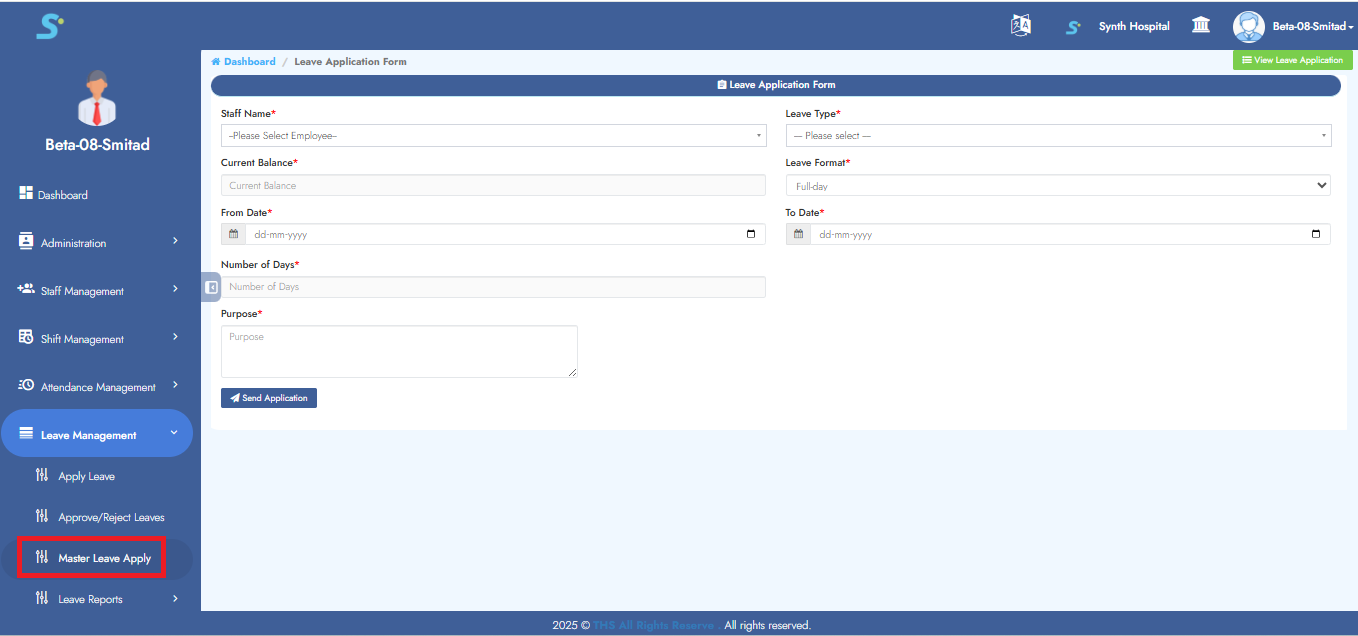
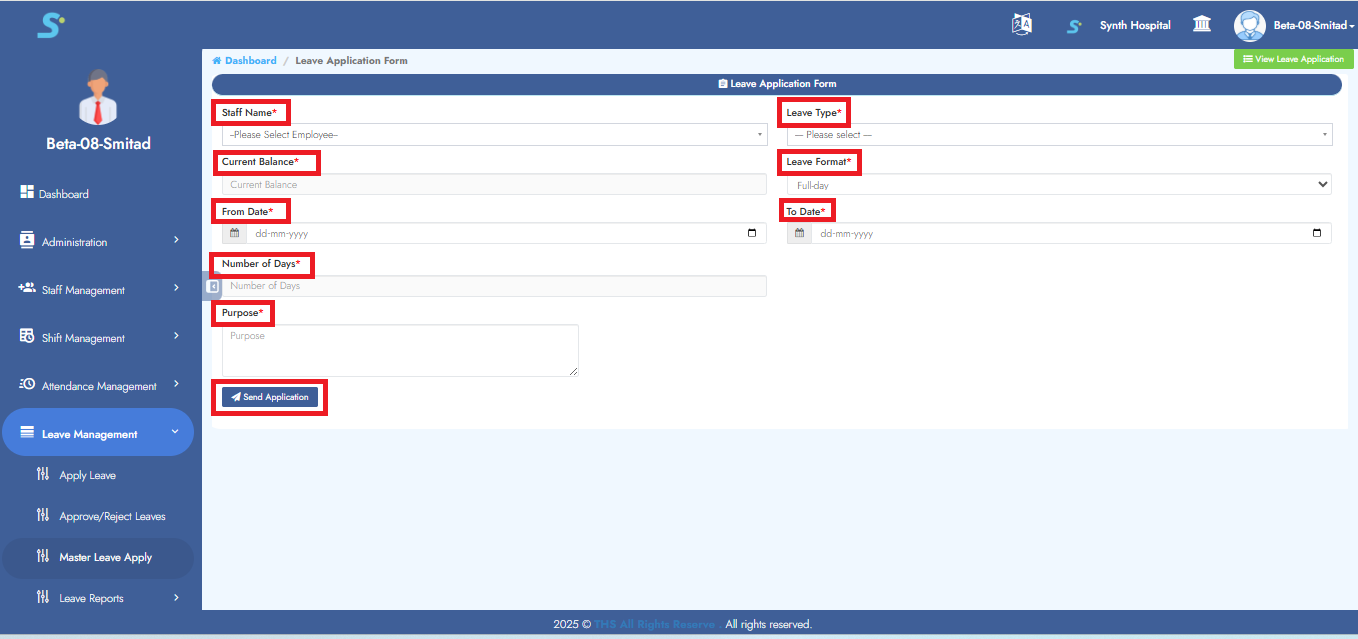
Step 28: Fill Master Leave Apply Form
Fill Staff(select from drop-downlist), Leave Type(select from drop-downlist), From-To Date, Reason
Click Send Application
Step 29: Approving Master Leave
Go to Master Leave Approve/Reject
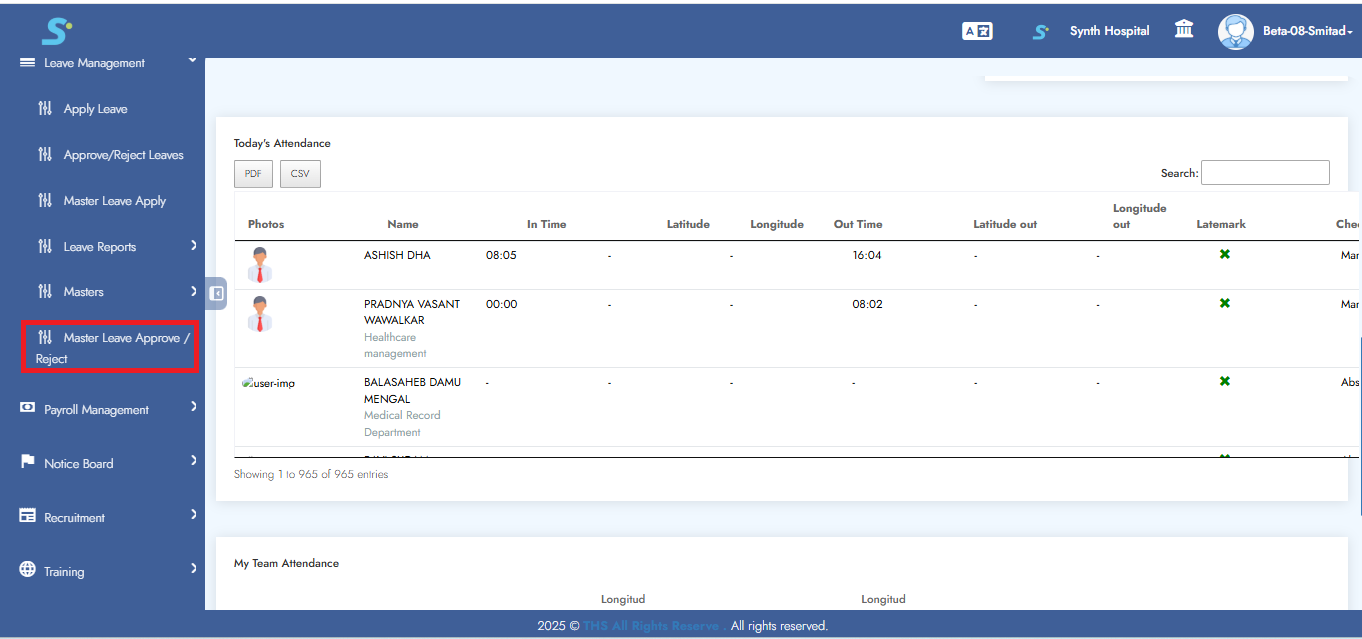
Step 30: Take Action on Master Leave
Click View Leave Details → Approve/Reject
Step 31: Approving from Master Leave Screen
Click Approve → "Leave Approved"
Step 32: Rejecting from Master Leave Screen
Click Reject → "Leave Rejected"
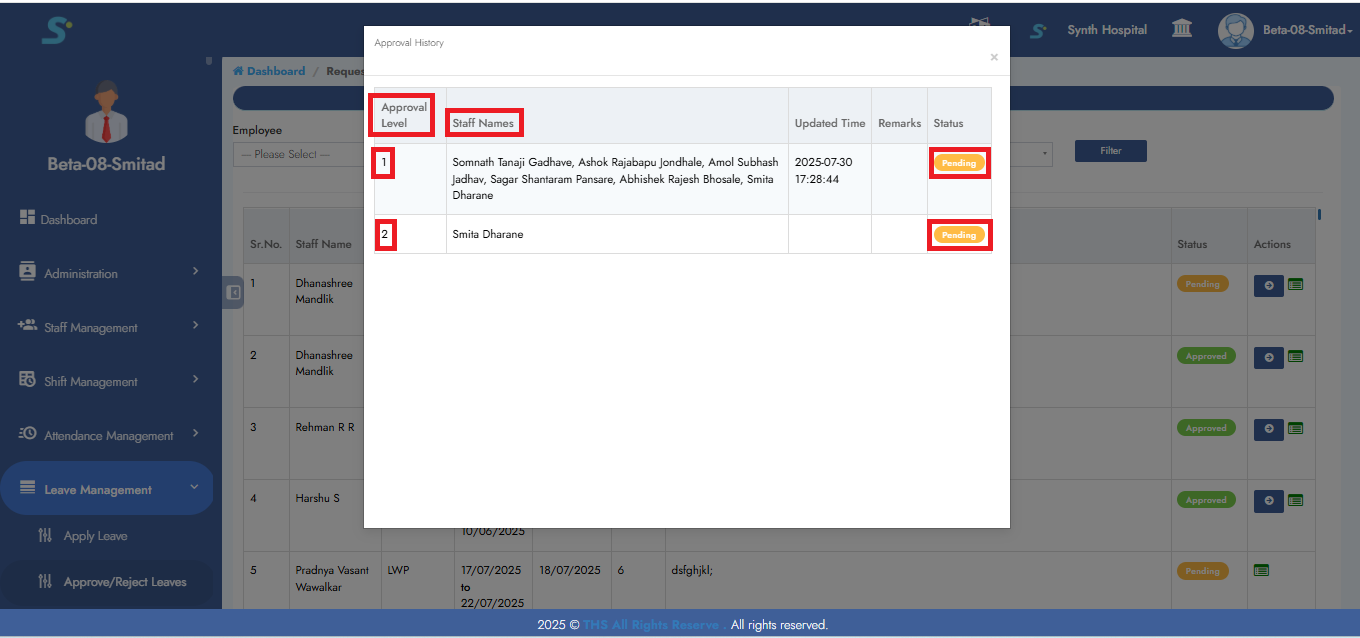
Step 33: Viewing Leave History & Approval Status
Click Leave History in Action column
Pop-up shows approval flow and status